So, I decided that the VTR needed its own page. I had a ’98 when they first came out. I always regretted selling that bike. Now I can fix that. 😀 This is where I will put ramblings and pictures, so as to keep motorcycle content off the front page of the site.
This is a 2001 VTR1000f (Superhawk in the US, and Firestorm everywhere else).
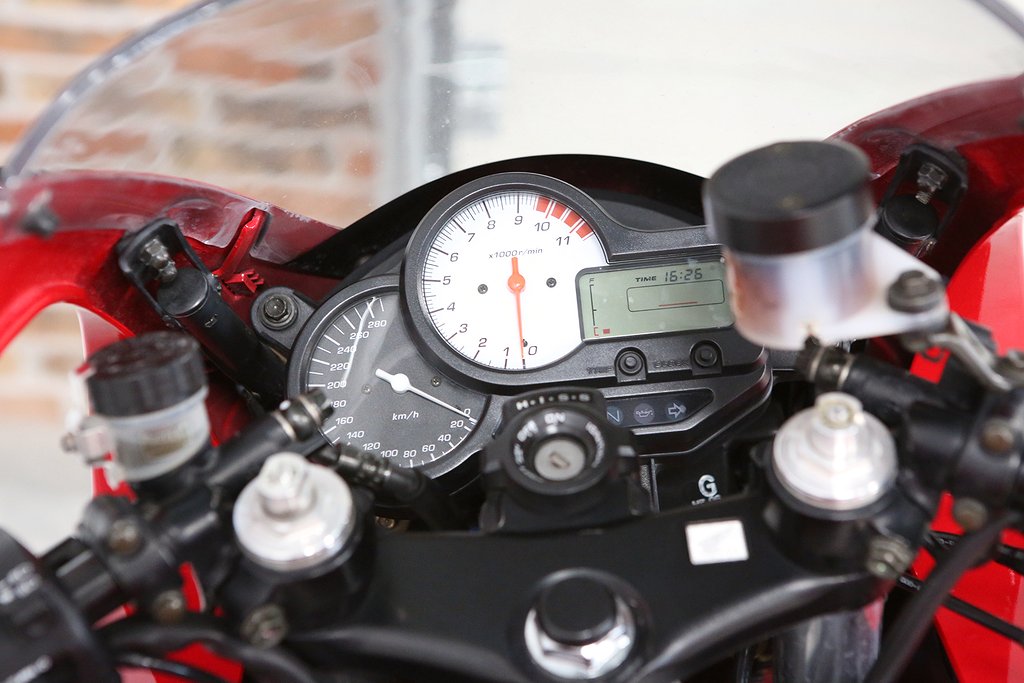
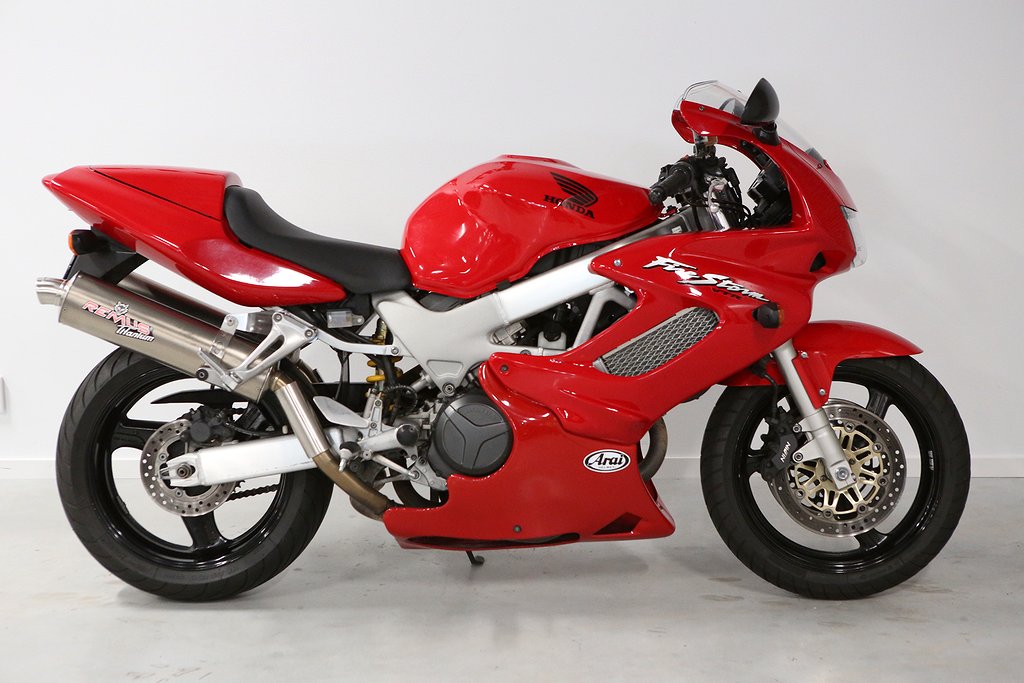
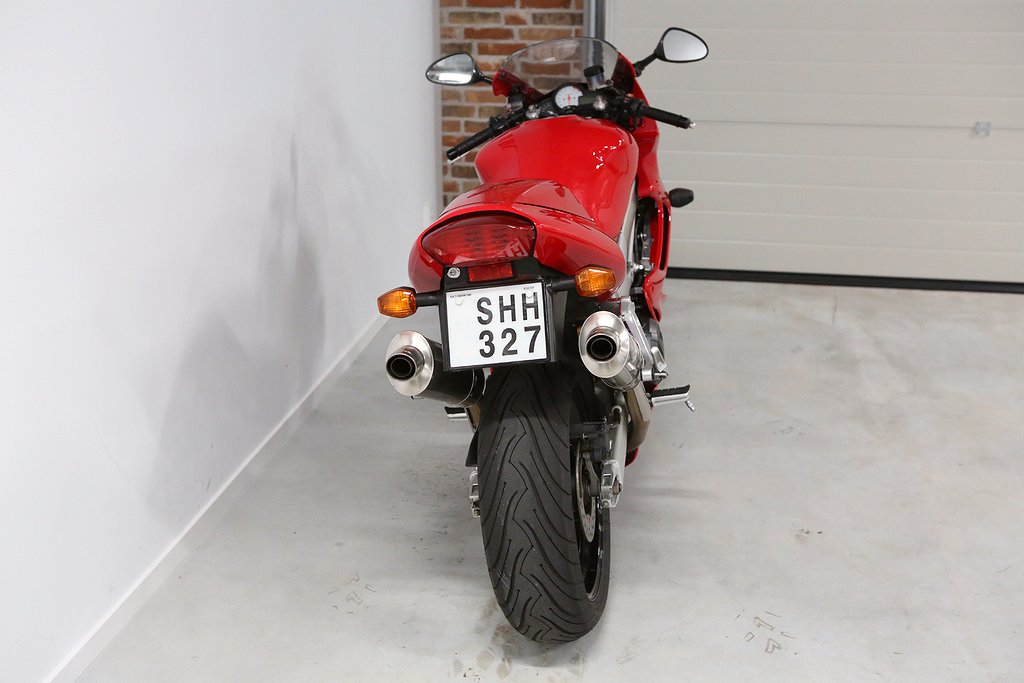
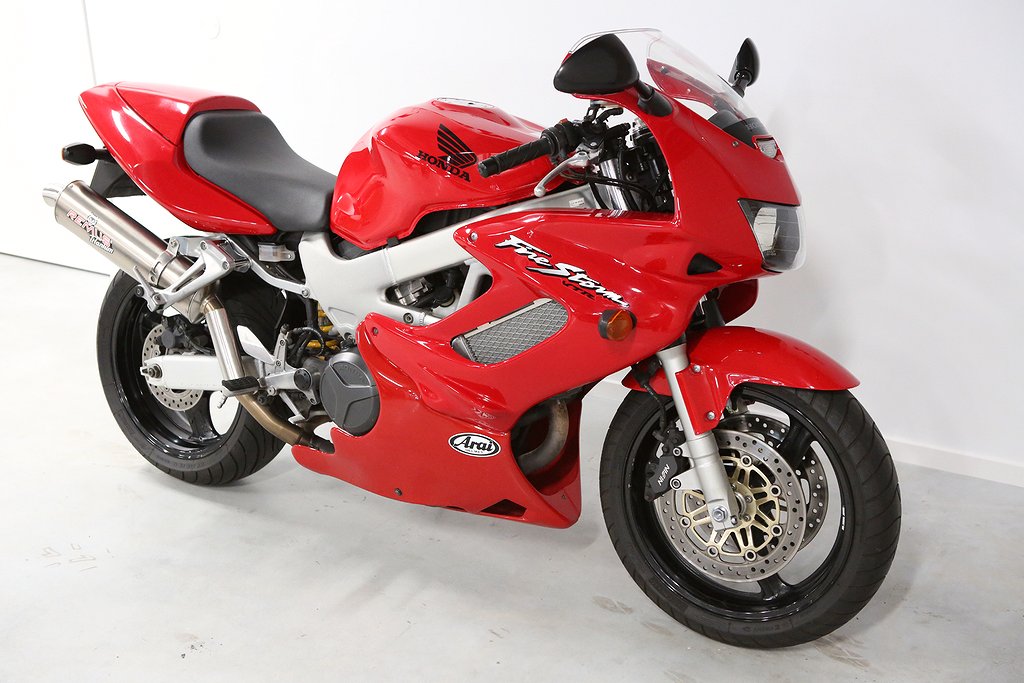
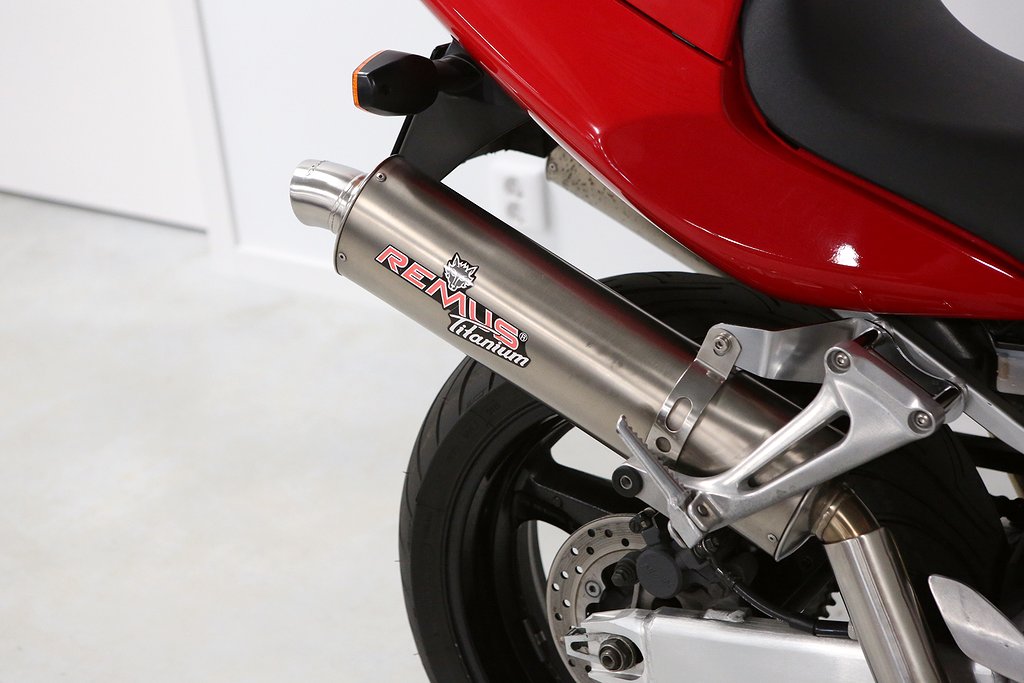
Overall, 43k kms, but in really nice condition for a 20 yr old bike. It had some nice Remus cans and a little full belly fairing. Tasteful mods, and the exhaust sounds AWESOME.
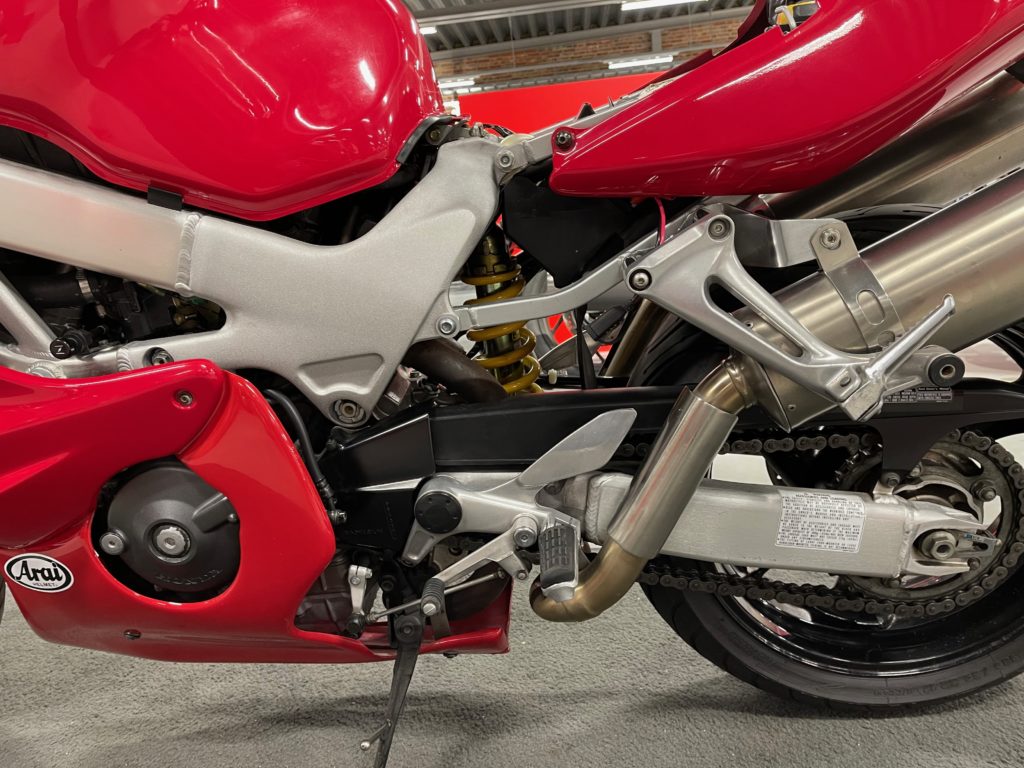
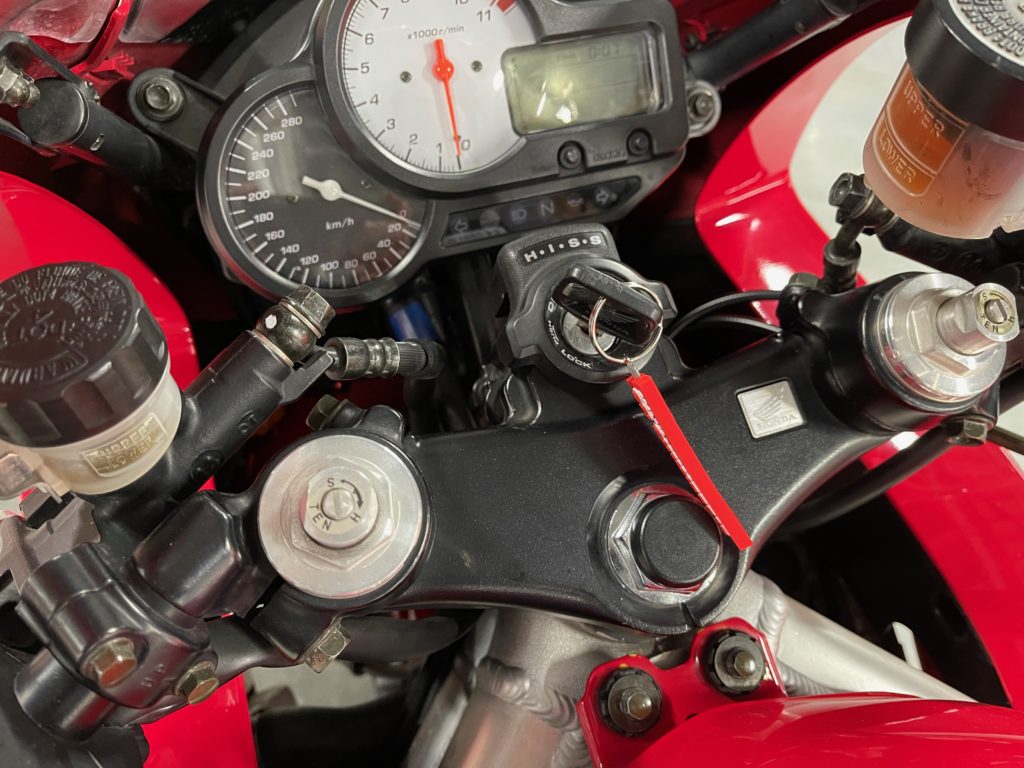
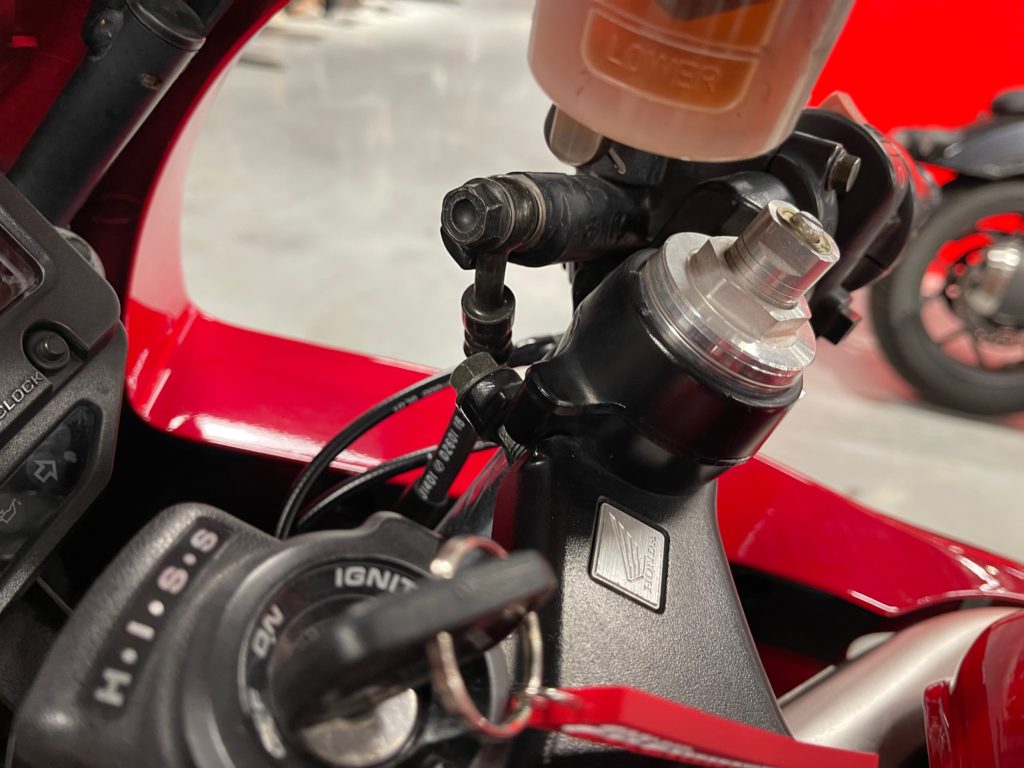
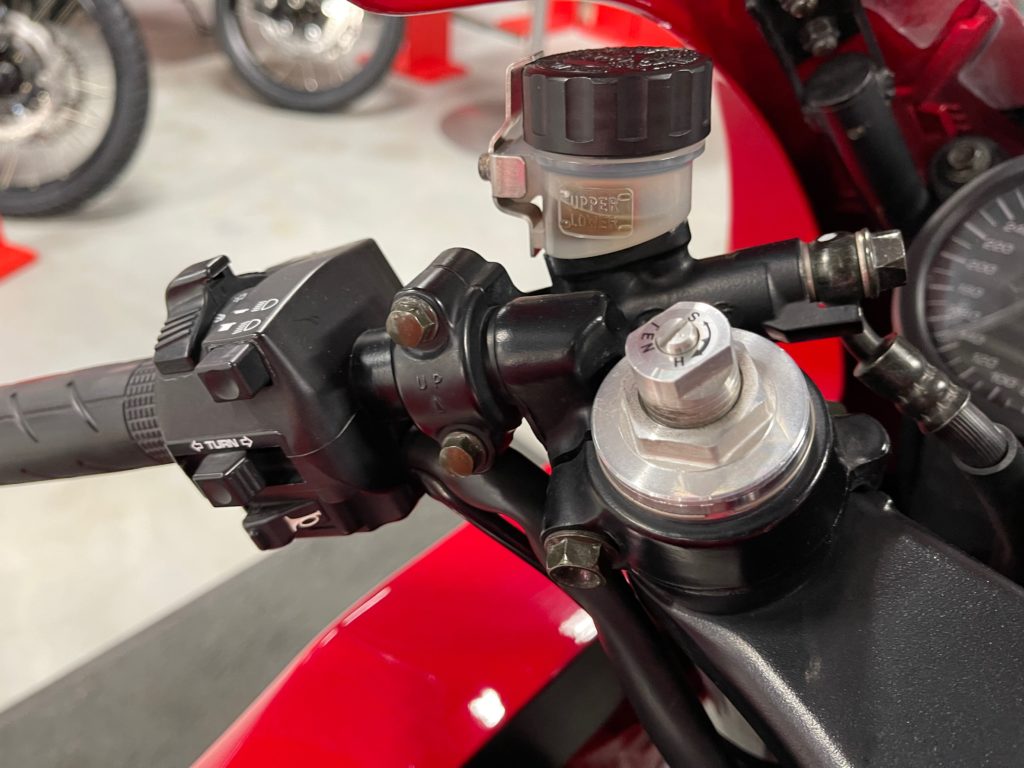
Mods and tweaks, Day 1 (3 hrs)
So, what to do with it? Well, I am 20 years older, so some upgrades in the ergonomics are in order. These mods are listed “by day”, but they just represent weekend days spread over the month of February and the first week of March 2022.
First project was to swap the clipons for some 60mm rise TRWs. They are a nice build quality, and save me the hassle of a full upper-triple clamp swap. I DO really like the look of superbike bars on these VTRs, but I am pacing myself. I did this (mostly) in an afternoon with L helping.
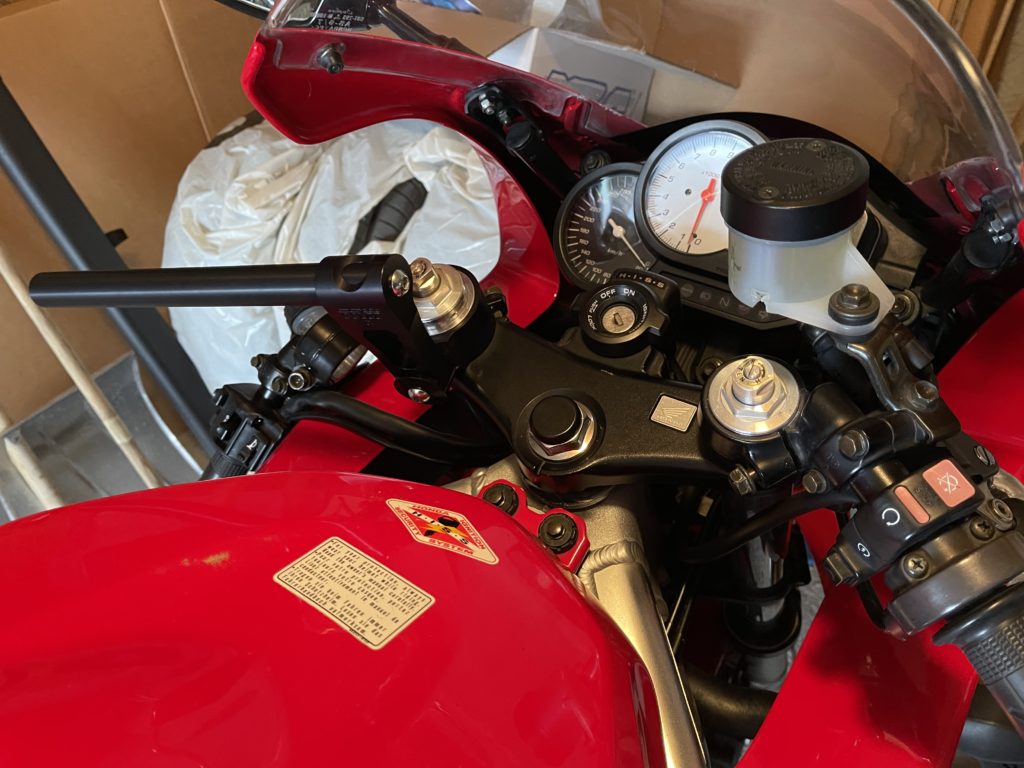
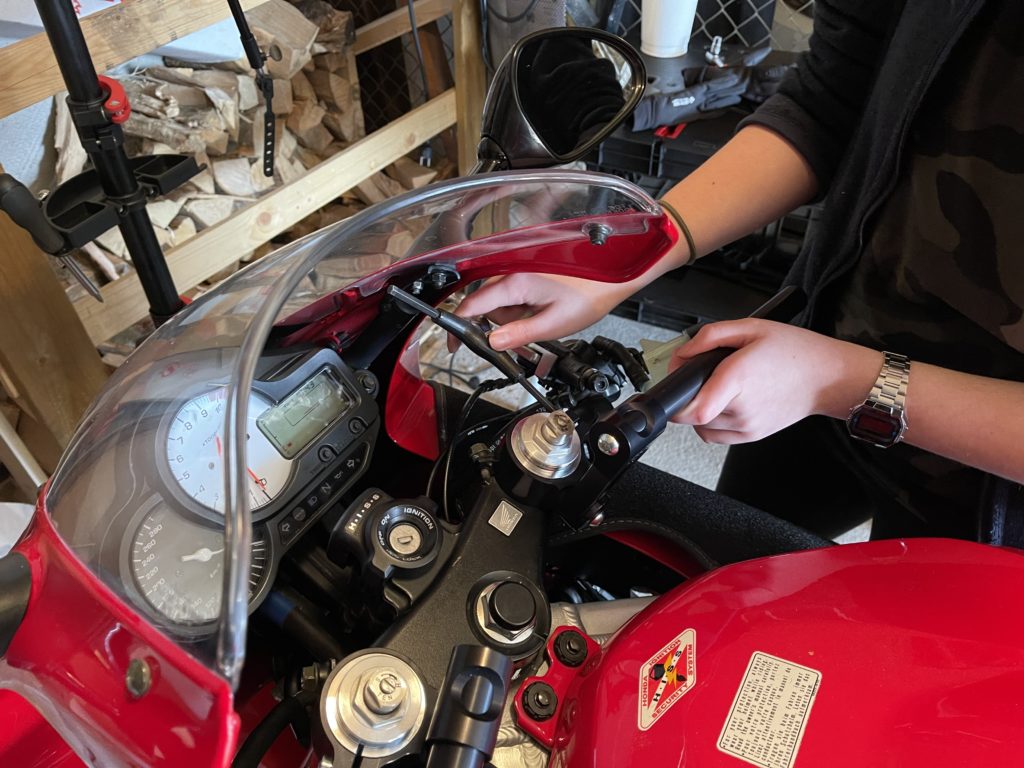
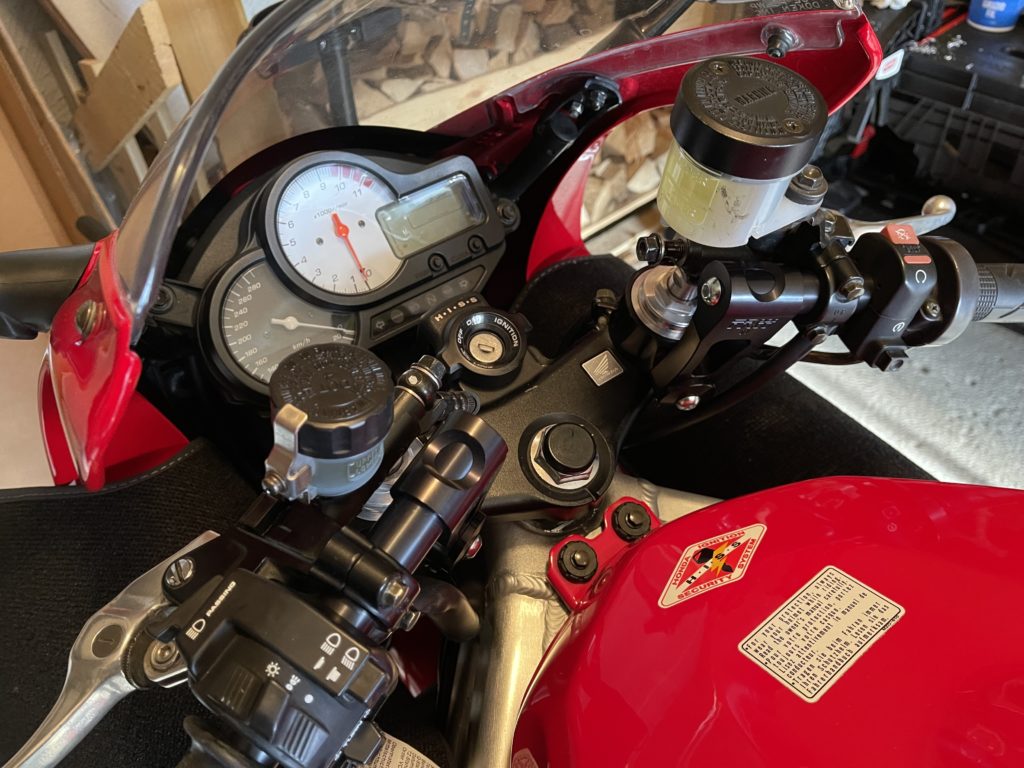
I am fitting them with the offset towards the rider, and it gives a lot more up-and-back from the stockers. Basically the economics of Helibars without the cost or full triple swap. I am a little close to the tank on full lock (and will need to adjust that). The clutch hydraulics run over the top of the fork, so adjusting that will be a PITA. The front brake hydraulics will too … when I replace the front brake lines. The brake fitting would not clear the fork top, so the next project will be new front stainless brake lines. There are little indexing pins on the eletronics and throttle modules that were an existential moment for me. I thought seriously about filing them off, but my conscience won out, and I pulled all the parts apart, located the pins, and drilled the indexing holes. Had to do it twice on the throttle side. Sigh. But, the upside is that there has been no modification to the original parts, and the bike can be fully returned to stock, if needed.
So, need brake lines, and new bar-ends to fit the ID of the new clipons. So far, it does not look like I will need to cut the fairing. Things remain to be seen, however.
Mods and tweaks, Day 2 (4 hrs)
I ordered stainless brake lines and all the associated bits. Then I realised that I bought the double banjo bolt with the wrong thread pitch. So, I couldn’t finish the brake line replacement today. Sigh. Proper bolt on order. But that did not mean that there was nothing to do. For example, I could install the rest of the brake system, and I am glad that I started on that, as it turned out to be a bit of work!
First, I took off the fairing. I wish I had done this in the first place (although I would have probably been wiggy about the new bars fitting). It does look pretty good naked, but I can see why the side rads are a visual killer.
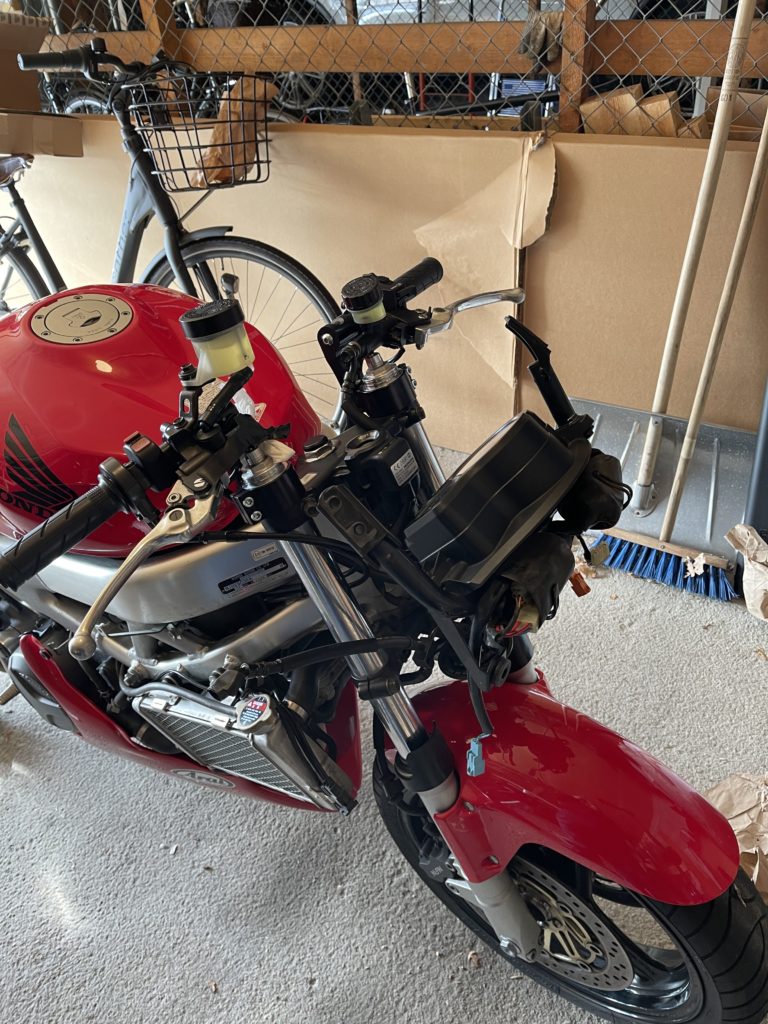
Second, I started on the brakes. The stock lines and fittings are BOring. For the new lines and fittings, I re-used the stock routing mounts and clips, and banjo bolts, but new copper crush washers, natch. Bling!
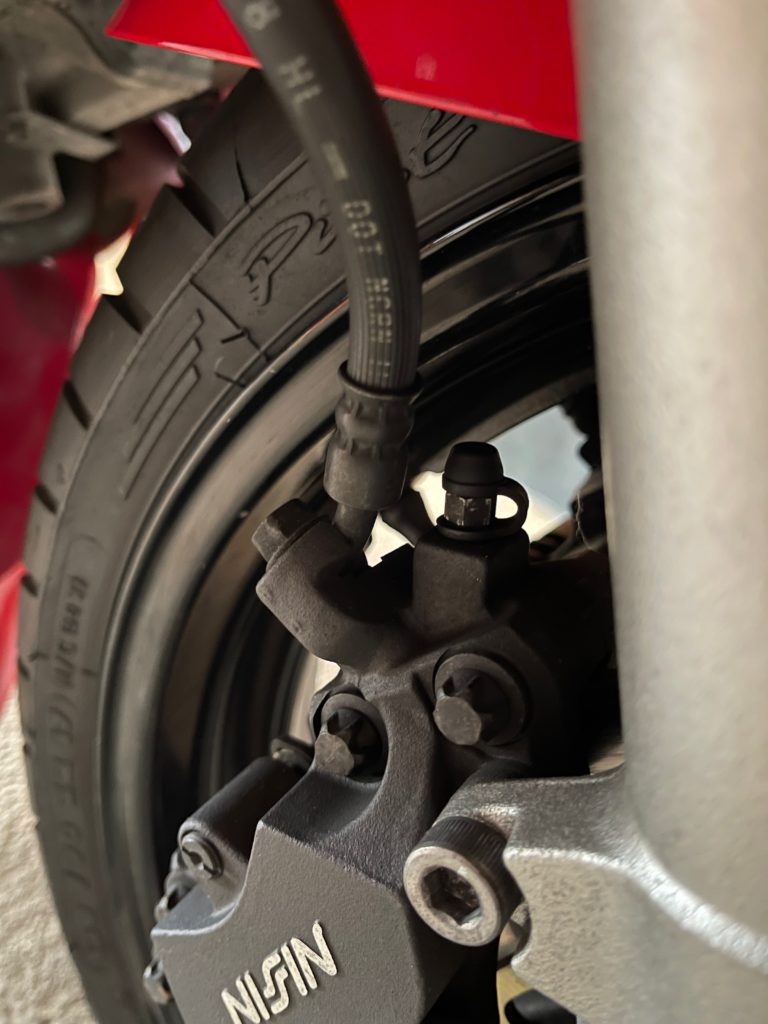
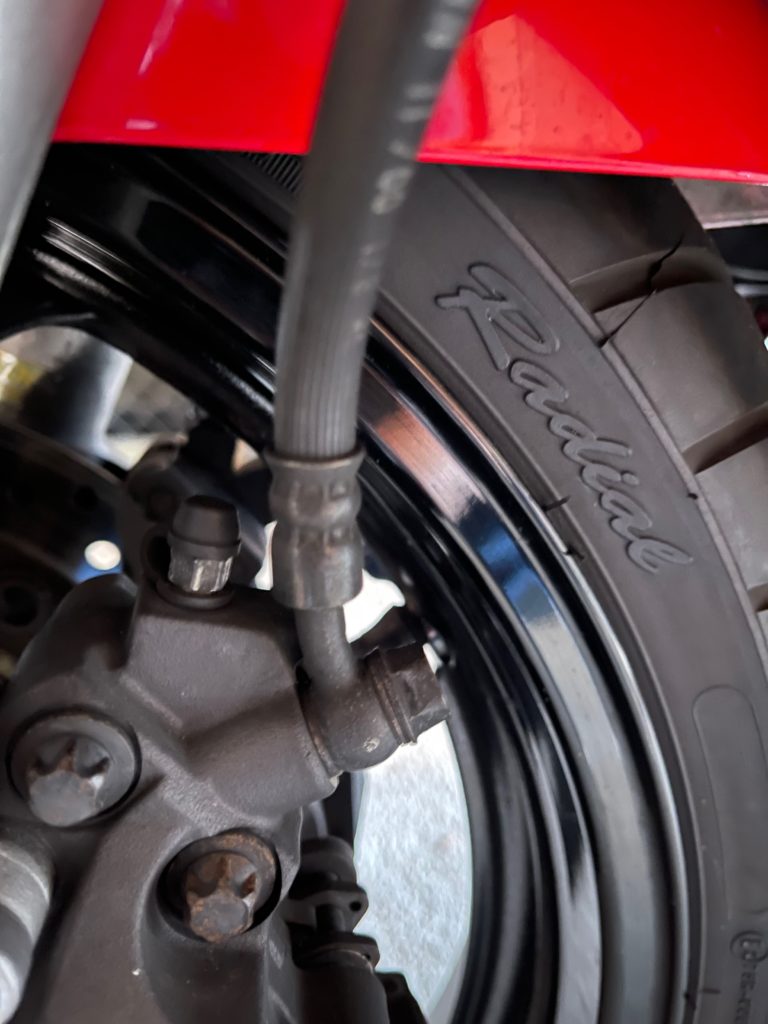
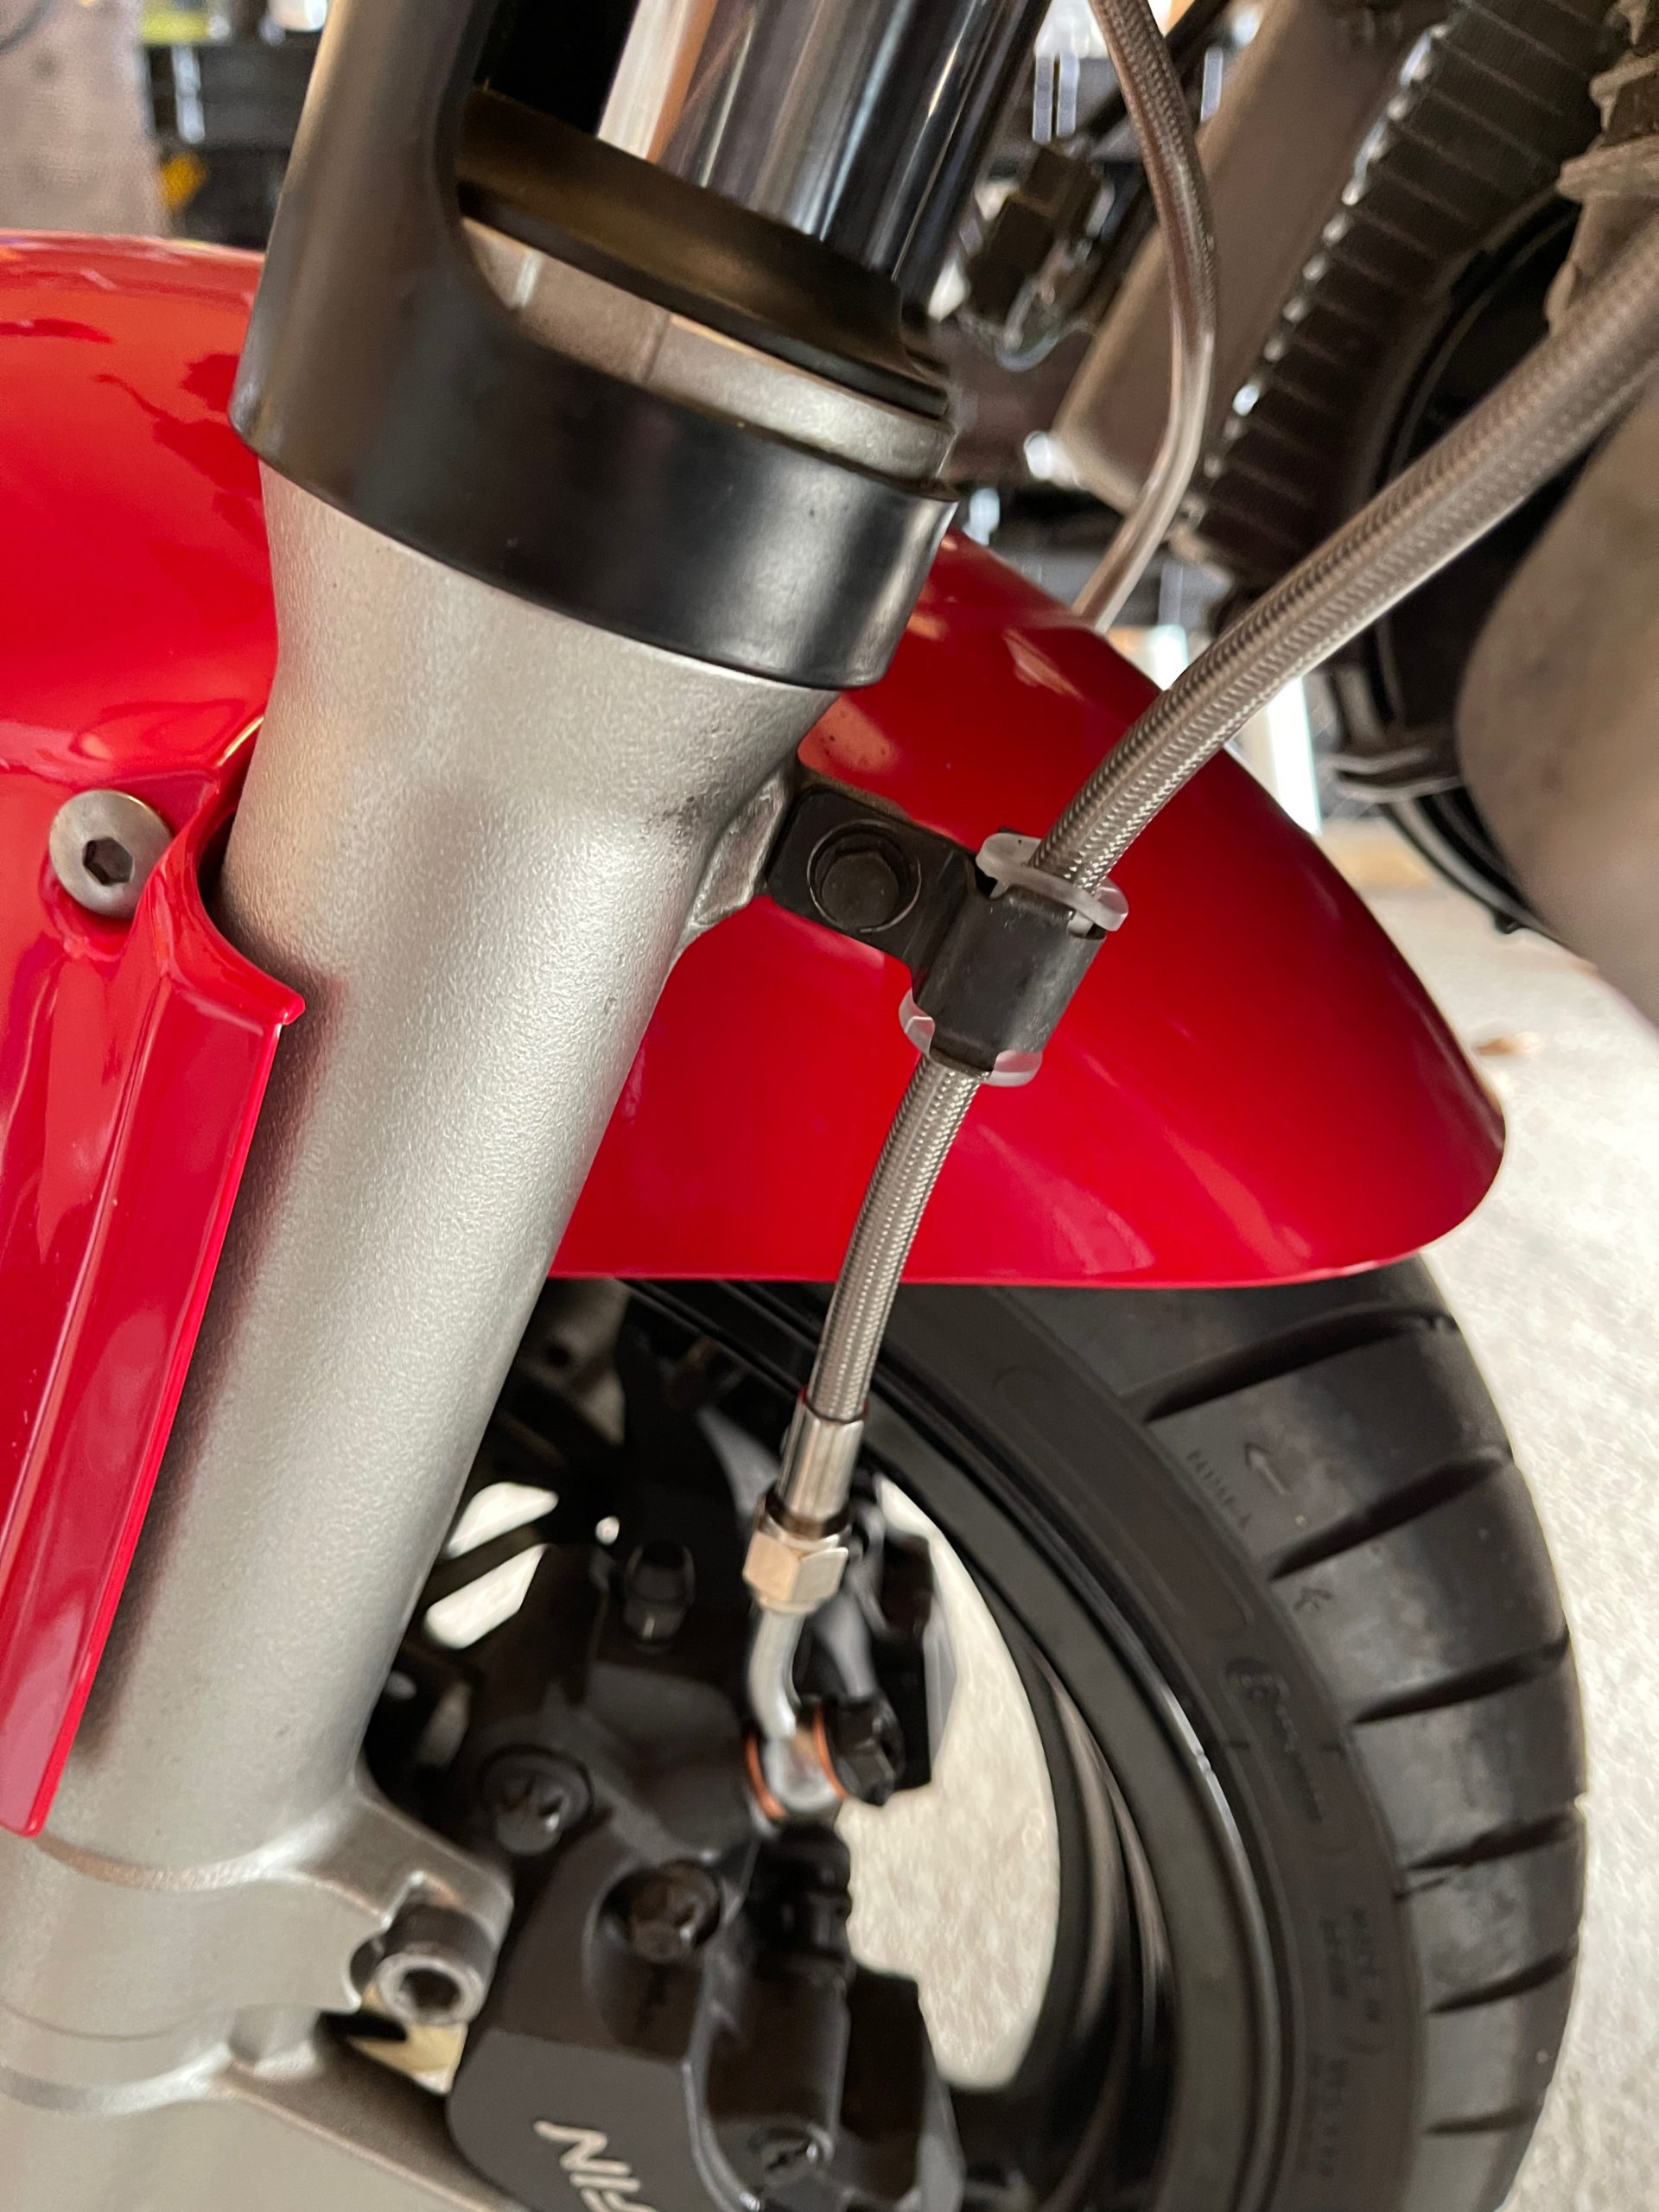
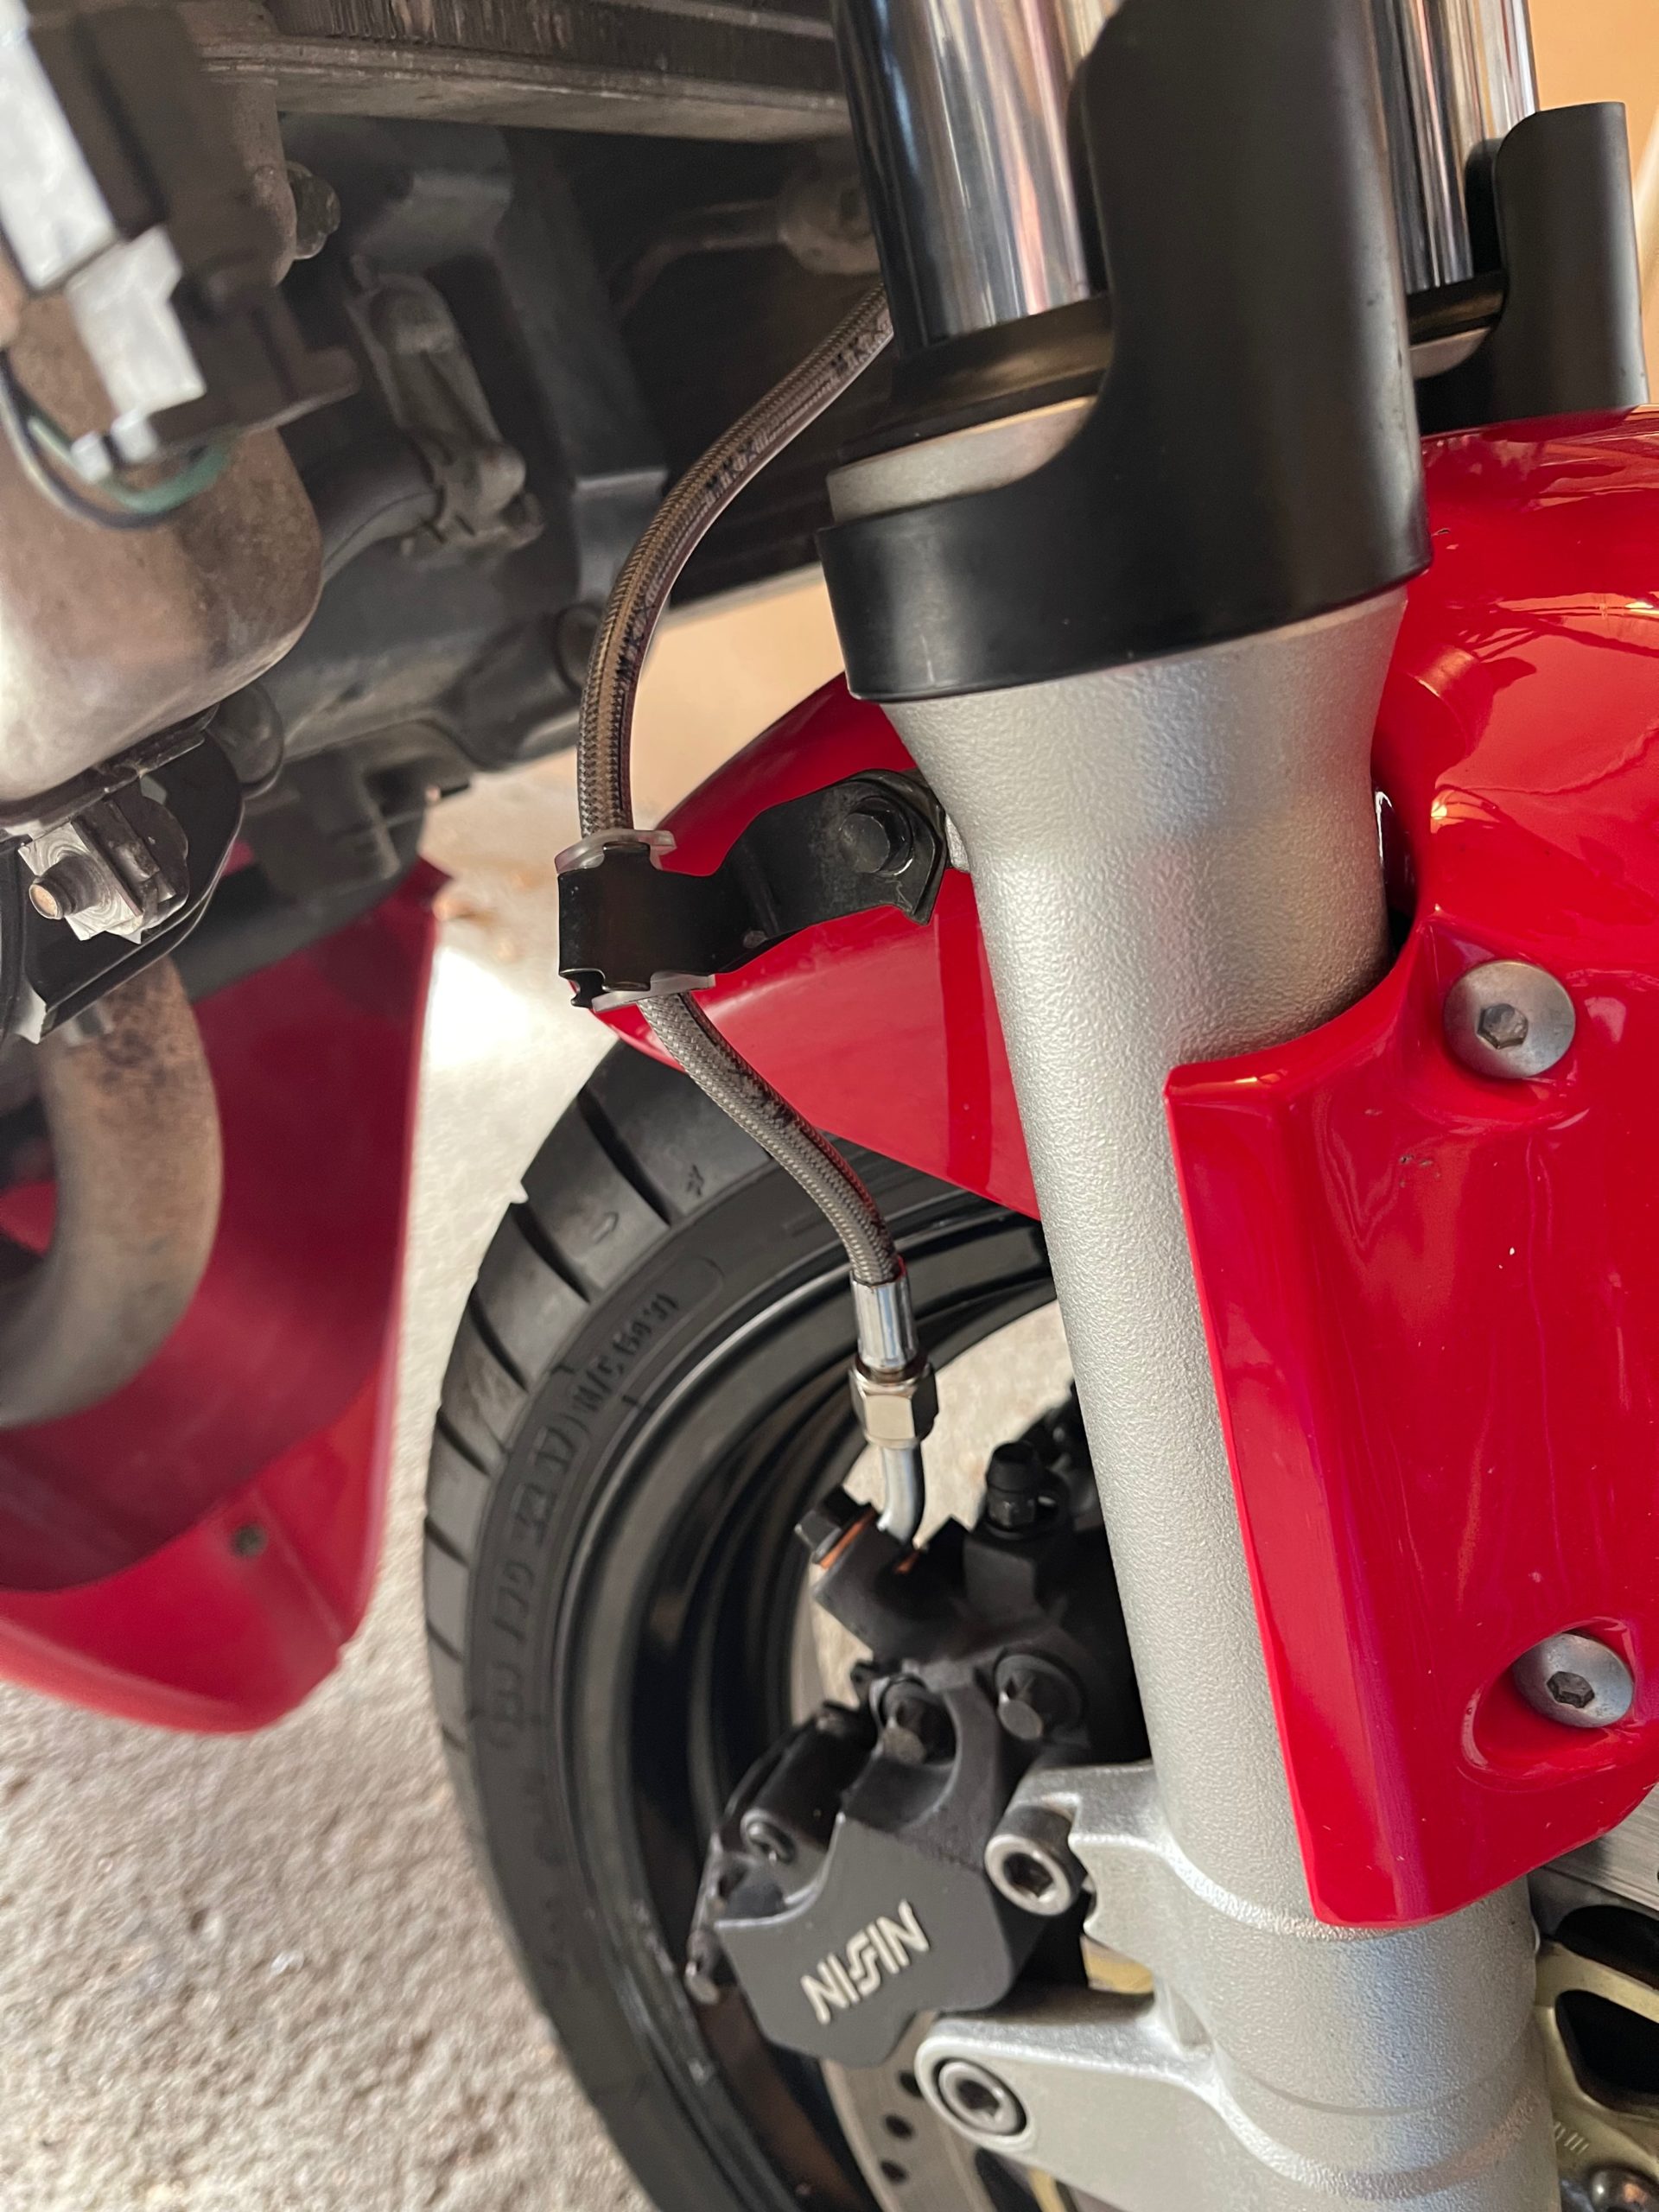
I also made sure that there was a generous bight in the sections that span over the fork travel zone. The stock lines had a 2-into-1 set up with a bolt-on hydraulic block at the junction. That meant that I needed to fabricobble a clip on the right side. When the new, properly threaded double banjo bolt arrives this coming week, the top will look something like this. Next week should be bleeding brakes, new windscreen, and maybe a ride?
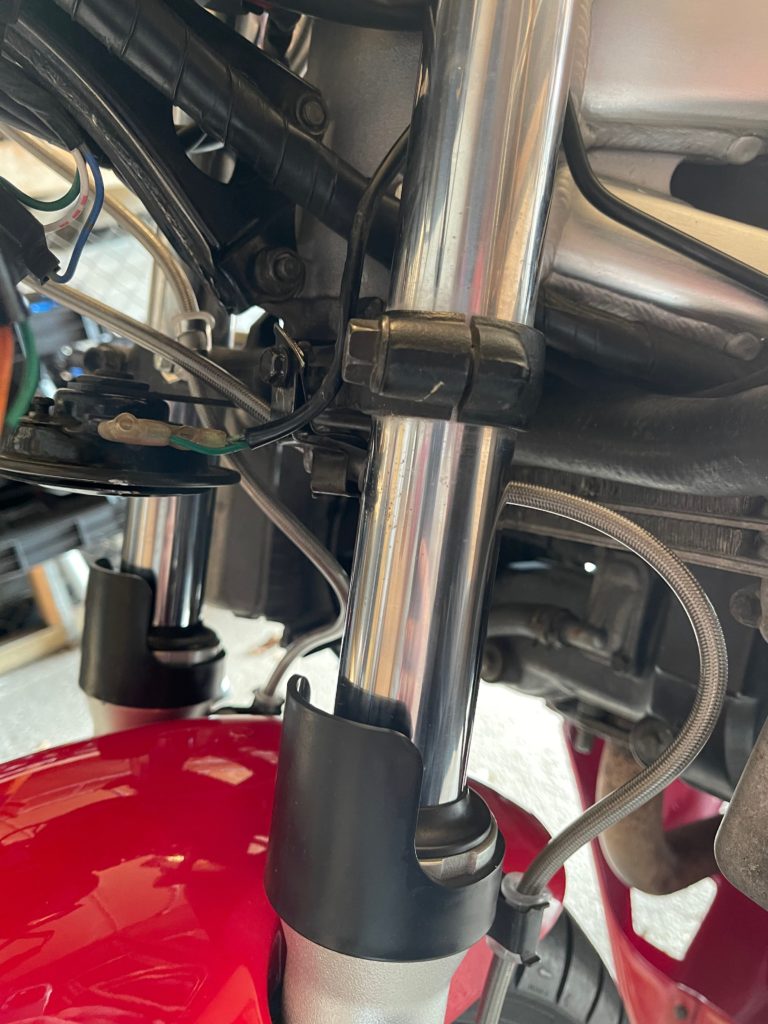
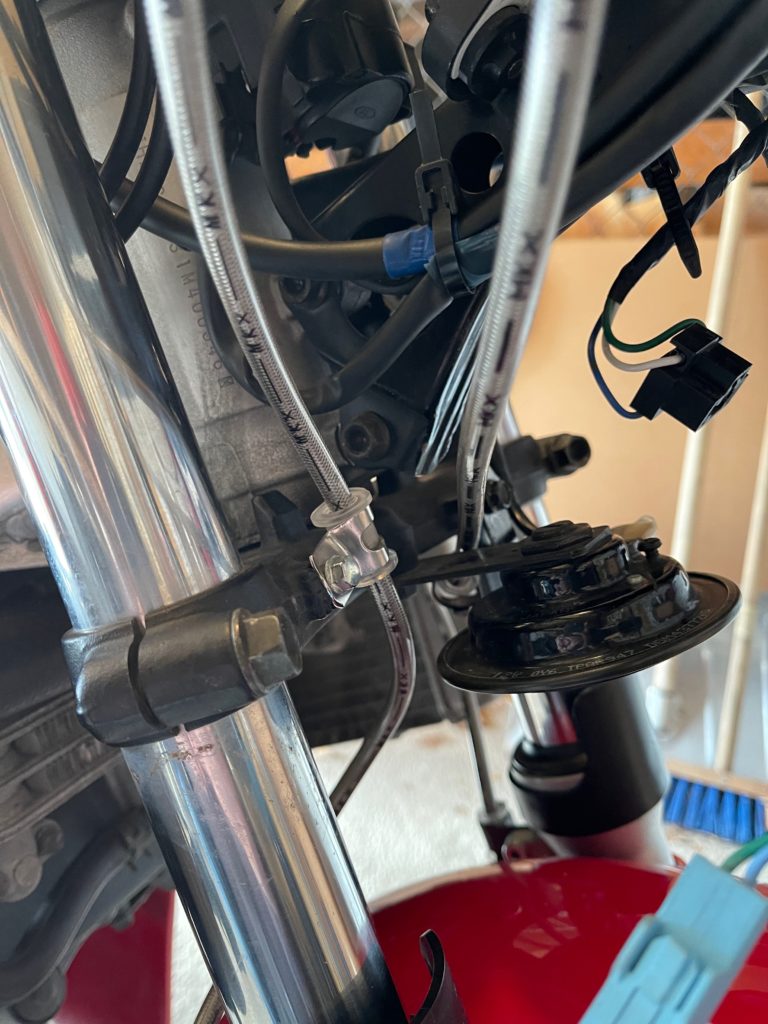
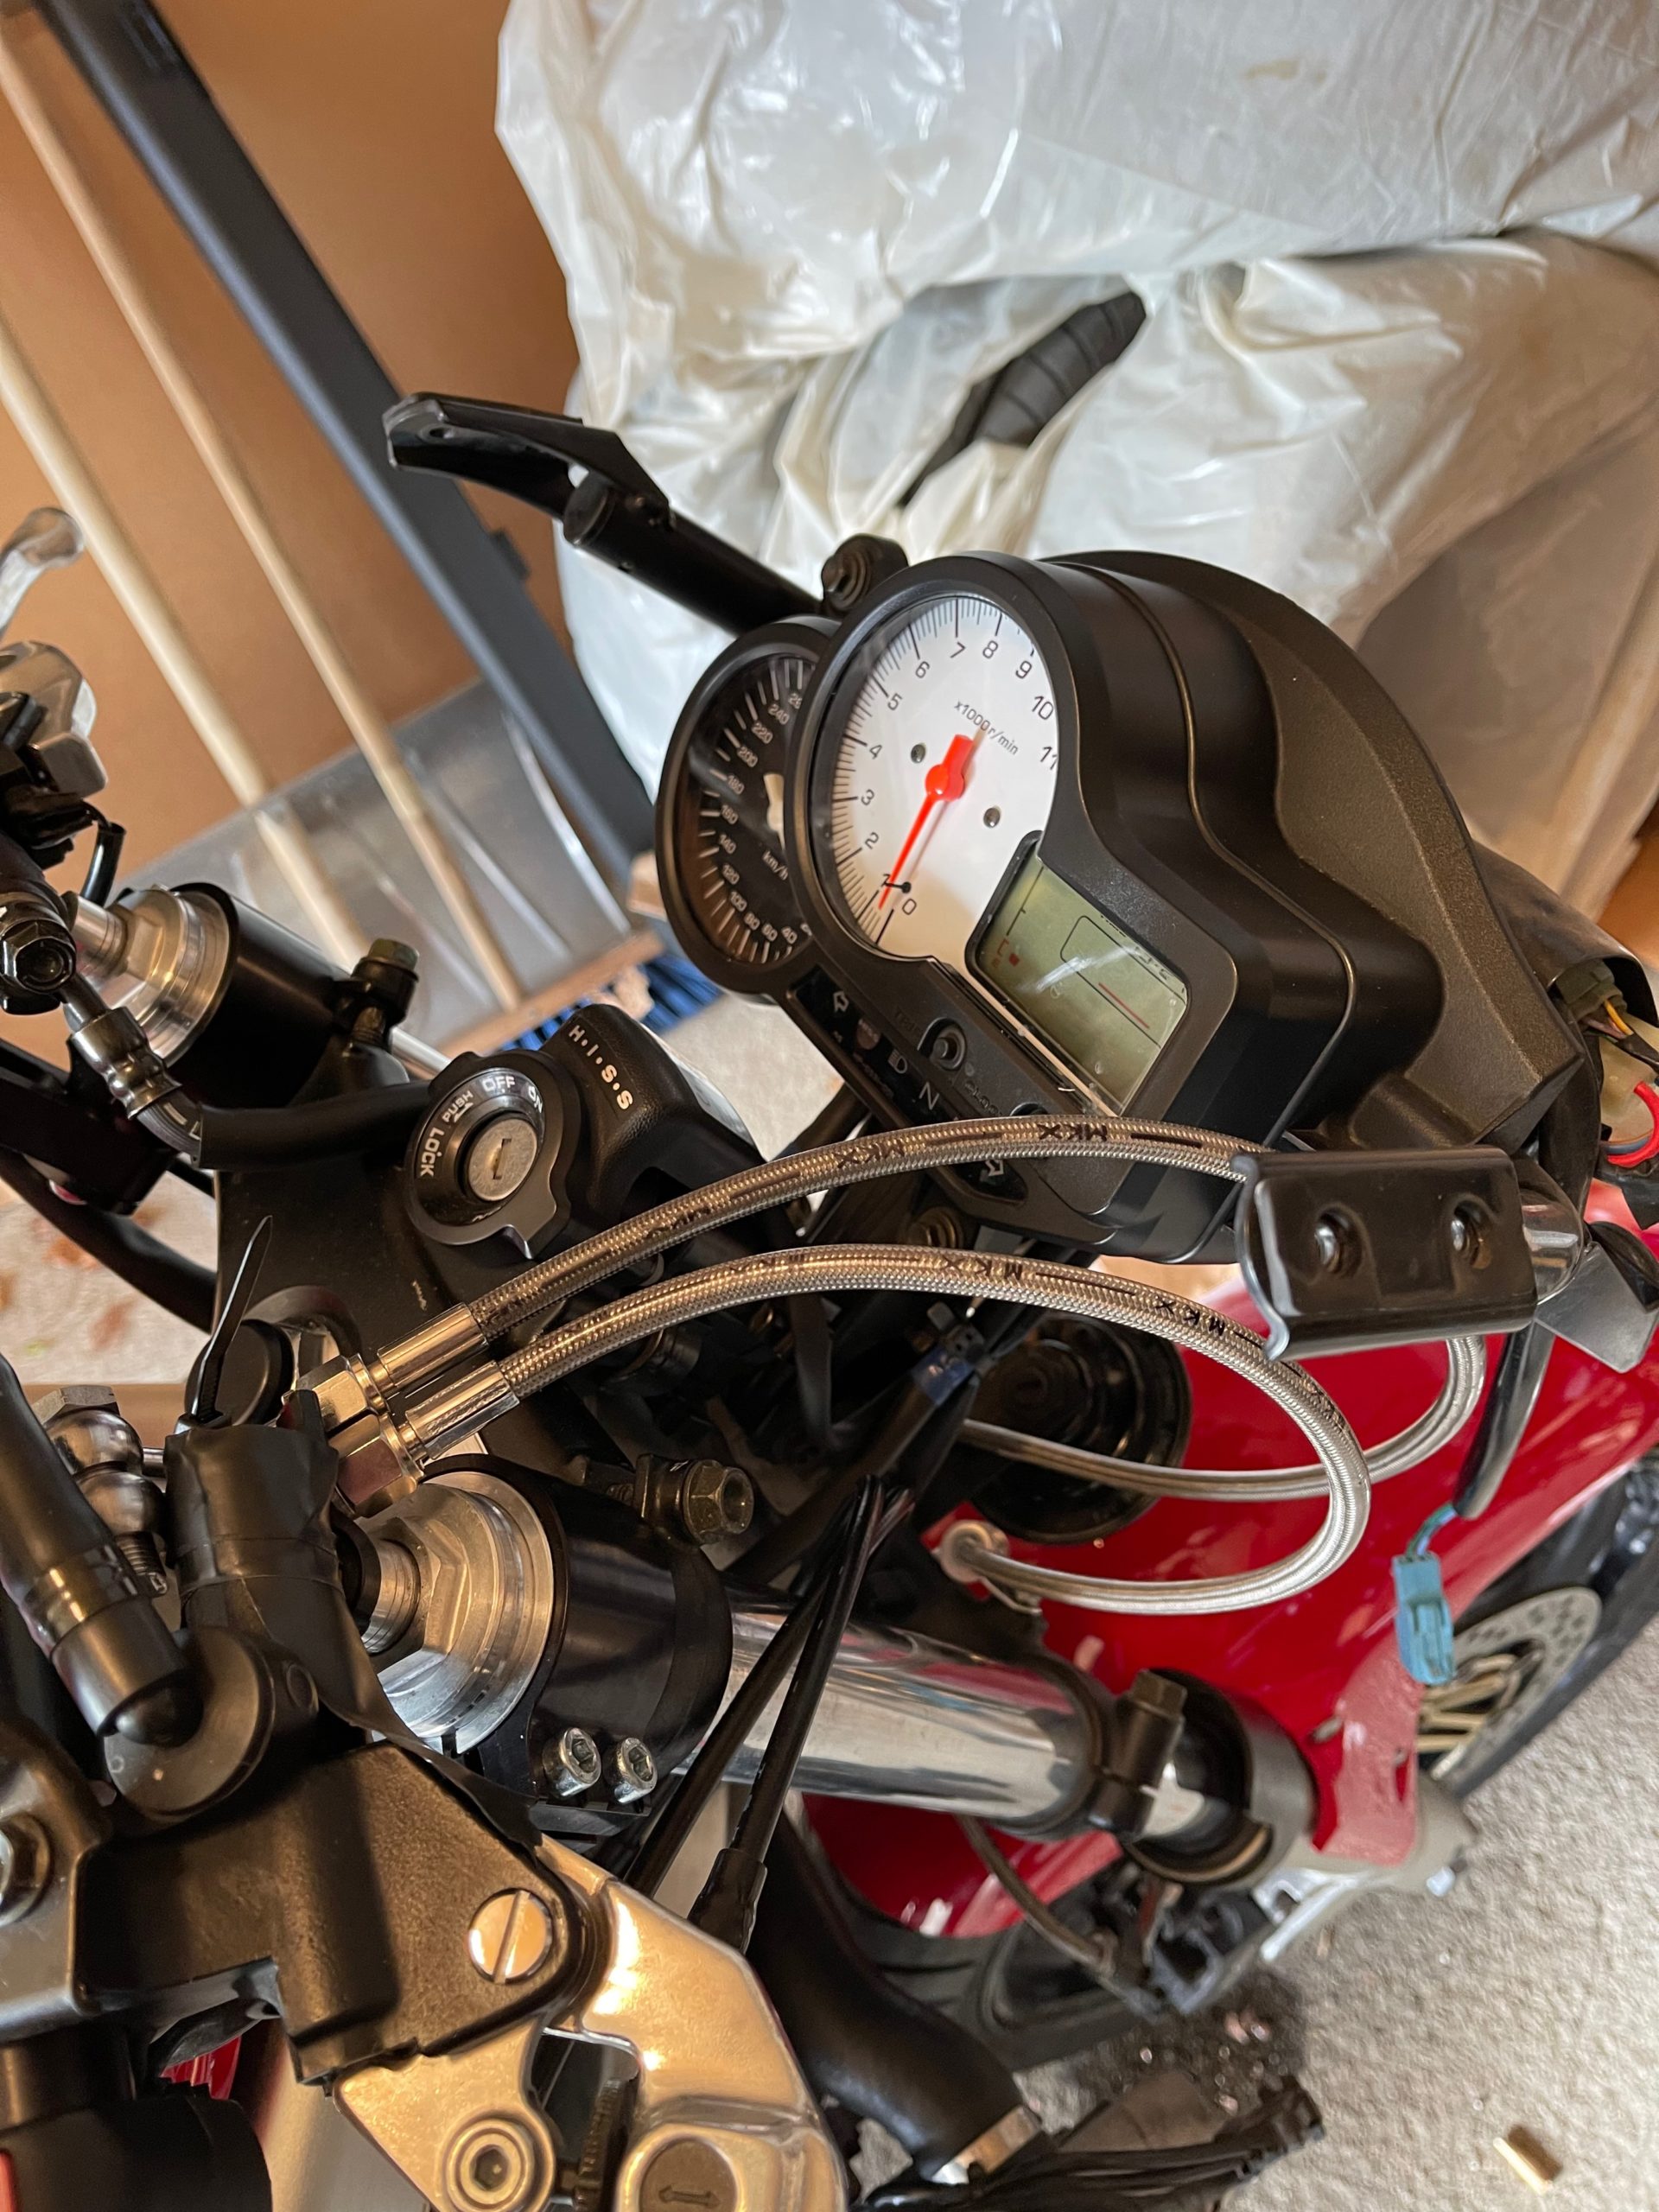
And, yes, I got the lines a bit too long. At least it gives me room to play with future bar setups! I also fab’d a small bracket for the clutch line to be relocated. Finally, I drilled out the steering stop blocks and added some small screws to tighten in the steering stops by about 3mm on each side. Keeps the switch gear from hitting the tank on full lock (and the steering locks still engage nicely). That wasn’t really worth taking a picture of.
Mods and Tweaks, Day 3 (3 hrs)
With the correct banjo bolt in hand, I was able to finish installing the brake lines and bleed out all the air. I routed the banjos over the top, and decided not to have them perfectly parallel, but it actually works better – function over form! It had been a really long time since I had bled brakes, but I brushed up and it was not too hard. I had to get some brake fluid, as it is more than the reservoir to basically fill the entire system!
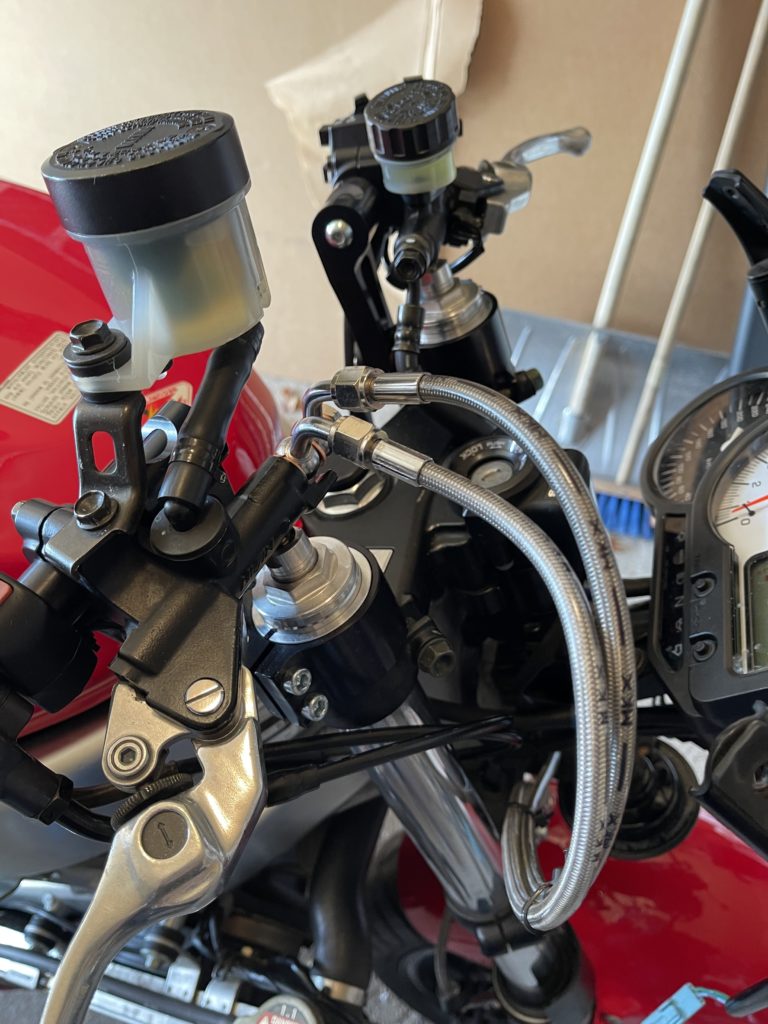
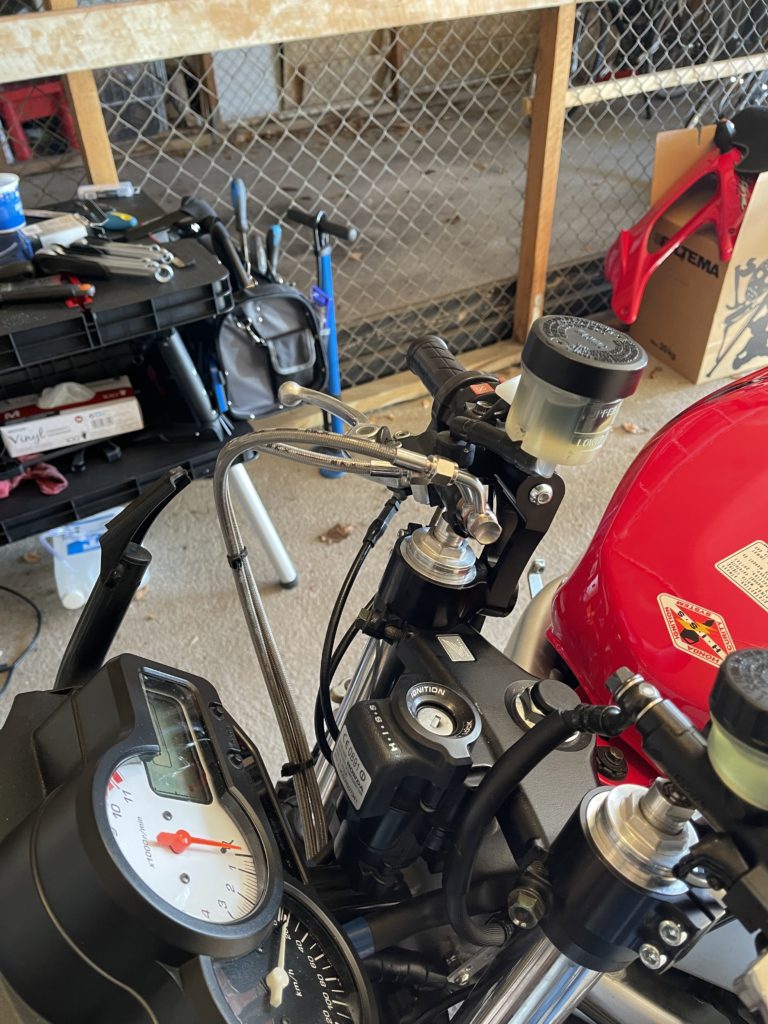
Then it was back on with the plastics and the new “touring” windscreen from MTR, which is (admittedly) a bit of a geezer look, but it does a nice job of creating shelter!
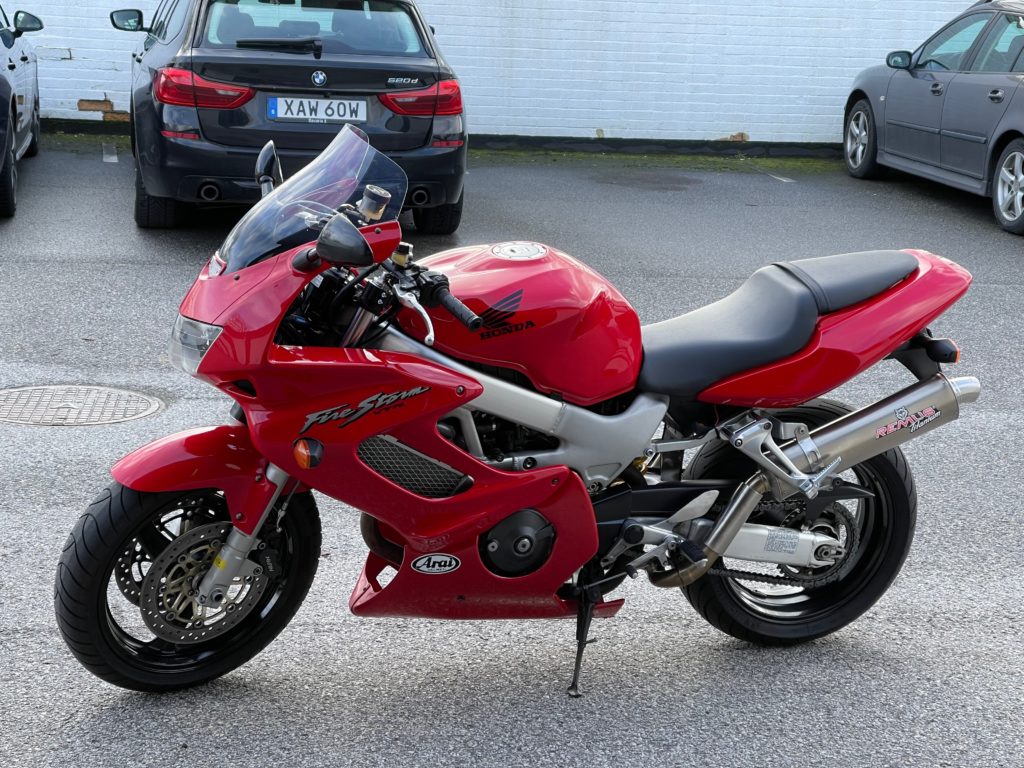
Then I went for a shake-down ride. The sky was clear, but we still had a lot of Eunice’s wind, which was not ideal. The brakes are nice and firm, as expected from braided lines. The bike rode quite well, and the cockpit config is nice on the back and shoulders. I have not put any bar-ends or other vibration absorption in yet, and I can tell, as my hands were buzzy after a ride out to Veberöd. Of course, I am a little rusty, but my muscle memory was starting to come back by the end of the ride. Here in Sweden, the roads in town have 40kph speed limits, so never really out of 2nd. Even getting out of town, the limit goes up to 70kph, which was lugging in 4th. I did get on to the motorway to give a bit of juice, and hit 120kph in a second, but that did not last long before I got off to head towards Dalby and Veberöd. Overall, it was awesome to be back on a VTR, and to have that sweet v-twin rumble in my ears!
So what is left? Some kind of phone mount. Probably a Sena for the helmet. I have a Shoei GTX-II, so it is kind of dumb to get anything else. And some bar-ends and vibration damping. Then just ride!
Mods and Tweaks, Day 4 (2 hrs)
After my shakedown ride, I decided that I really did need to trim the fairing to clear the higher bars. This is really just a wrap-up to the work on Day 3, but it was a different actual “day” (as in, there was a week in between).
So, I got a Dremel and a plastic cut-off wheel and went at it. I taped up the whole area and laid out a few lines, replacing the tape after each one so that I did not confuse myself. Ultimately, I laid out a form of grid with callipers so that I could be sure that the curve was identical on both sides. Then I cut. It is not so bad, but I can tell I have a bit more hand-finishing to do. But the sides are quite symmetrical AND I have free clearance lock-to-lock!
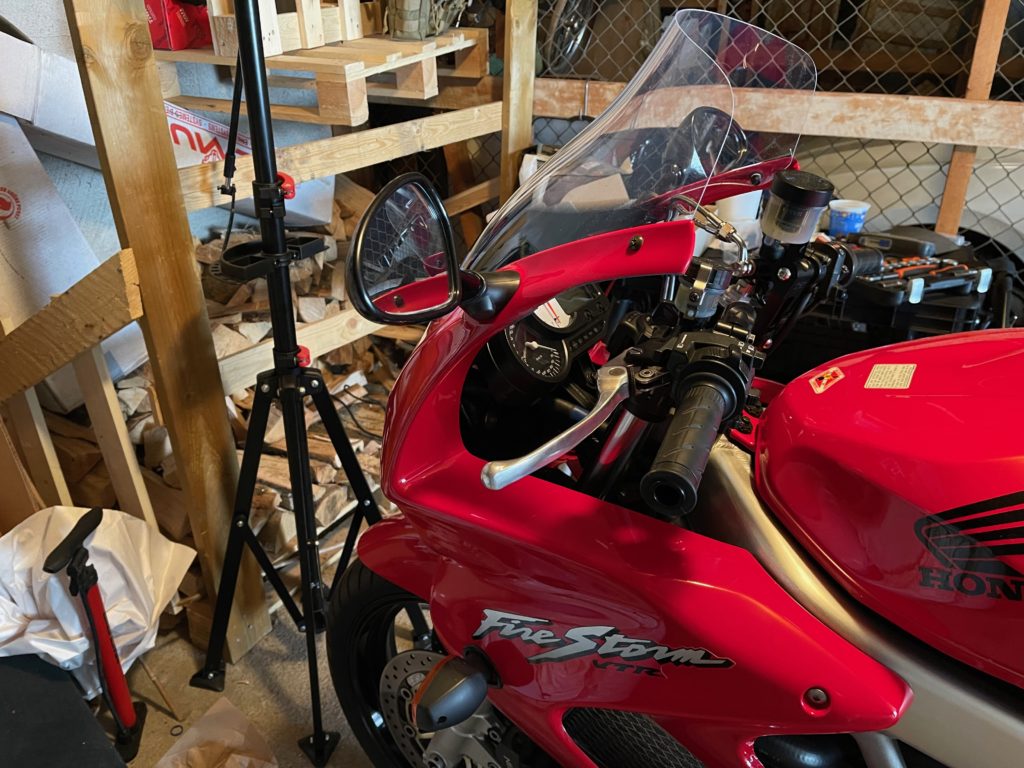
Still need bar-ends (those are on order from the US). Of course, the increased clearance makes me think of super bike bars … No! Just ride!
Mods and Tweaks, Day 5 (2 hrs)
OK, this is also a really low-productive day. I installed the HVMP bar-ends. These are chonky bois! The site lists them as 14,7 ounces in imperial freedom units, and that is 417g for the rest of us. That is a LOT of mass to add to the end of a bar and I am looking forward to lots of vibration damping! I also cracked and tidied up the brake lines – it was just too irritating that the banjo fittings did not line up! Finally, I tried to take a pic of the steering stops that I put in. You can barely see it in the right-most picture.
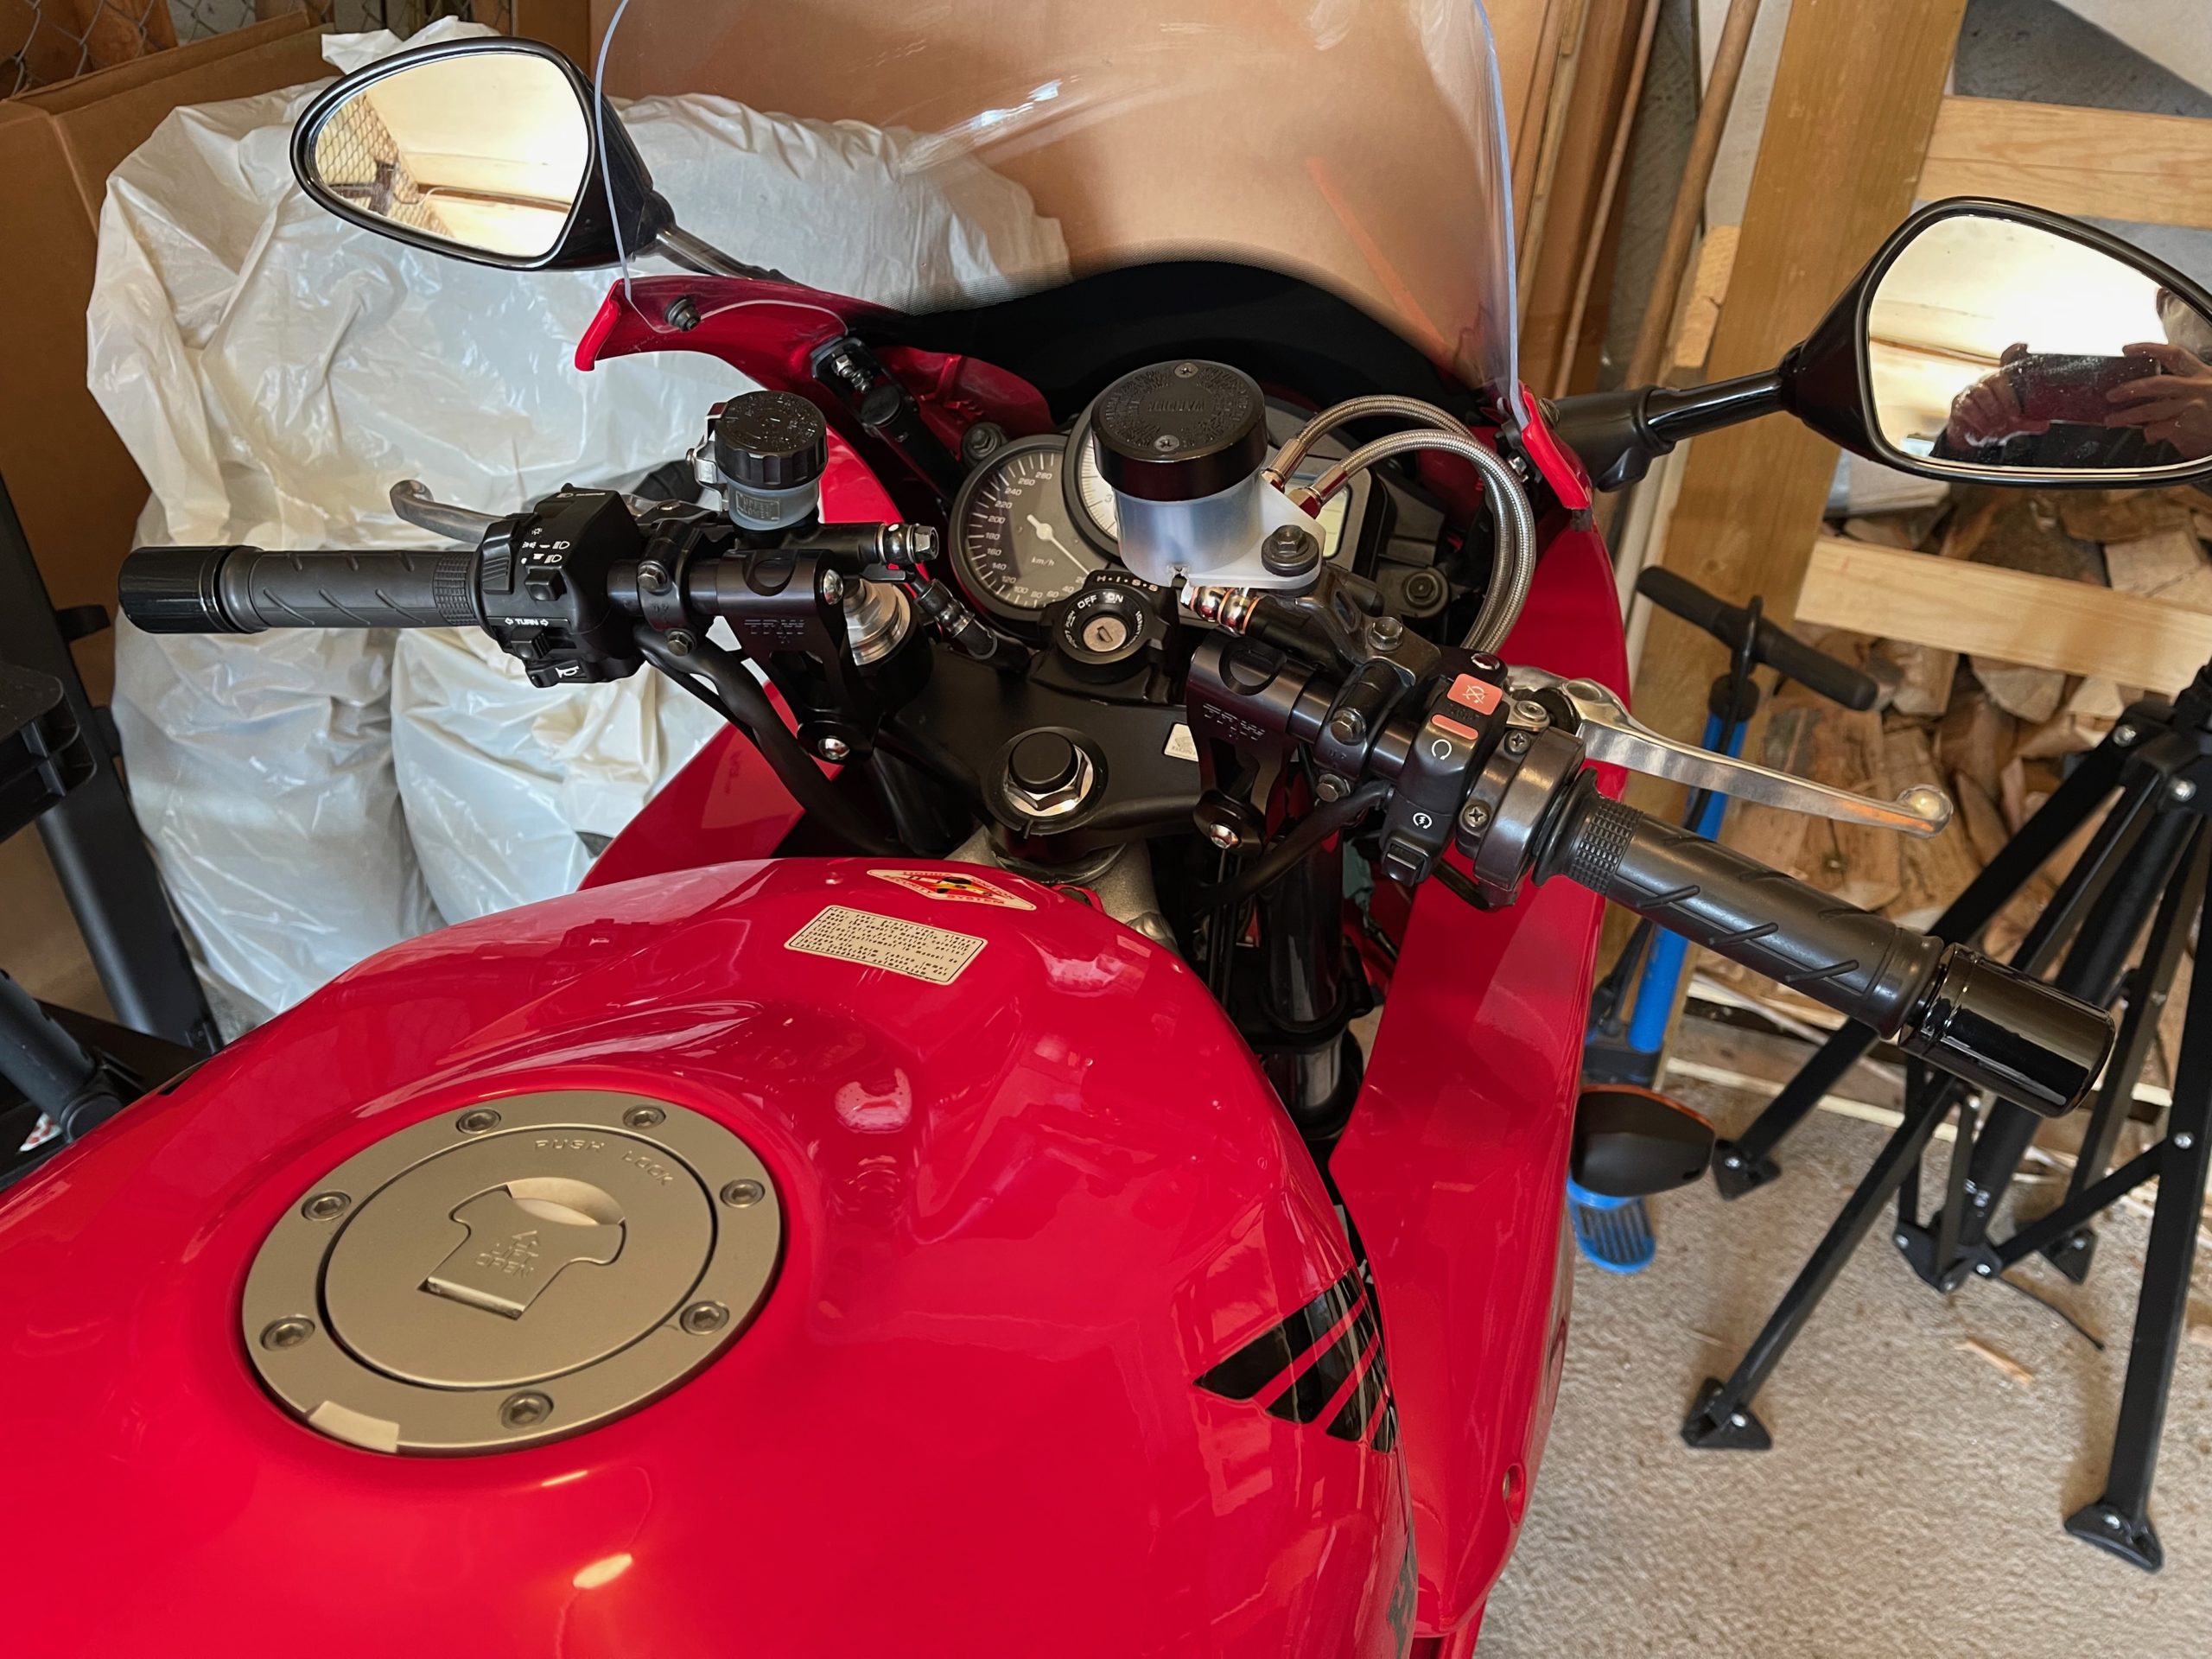
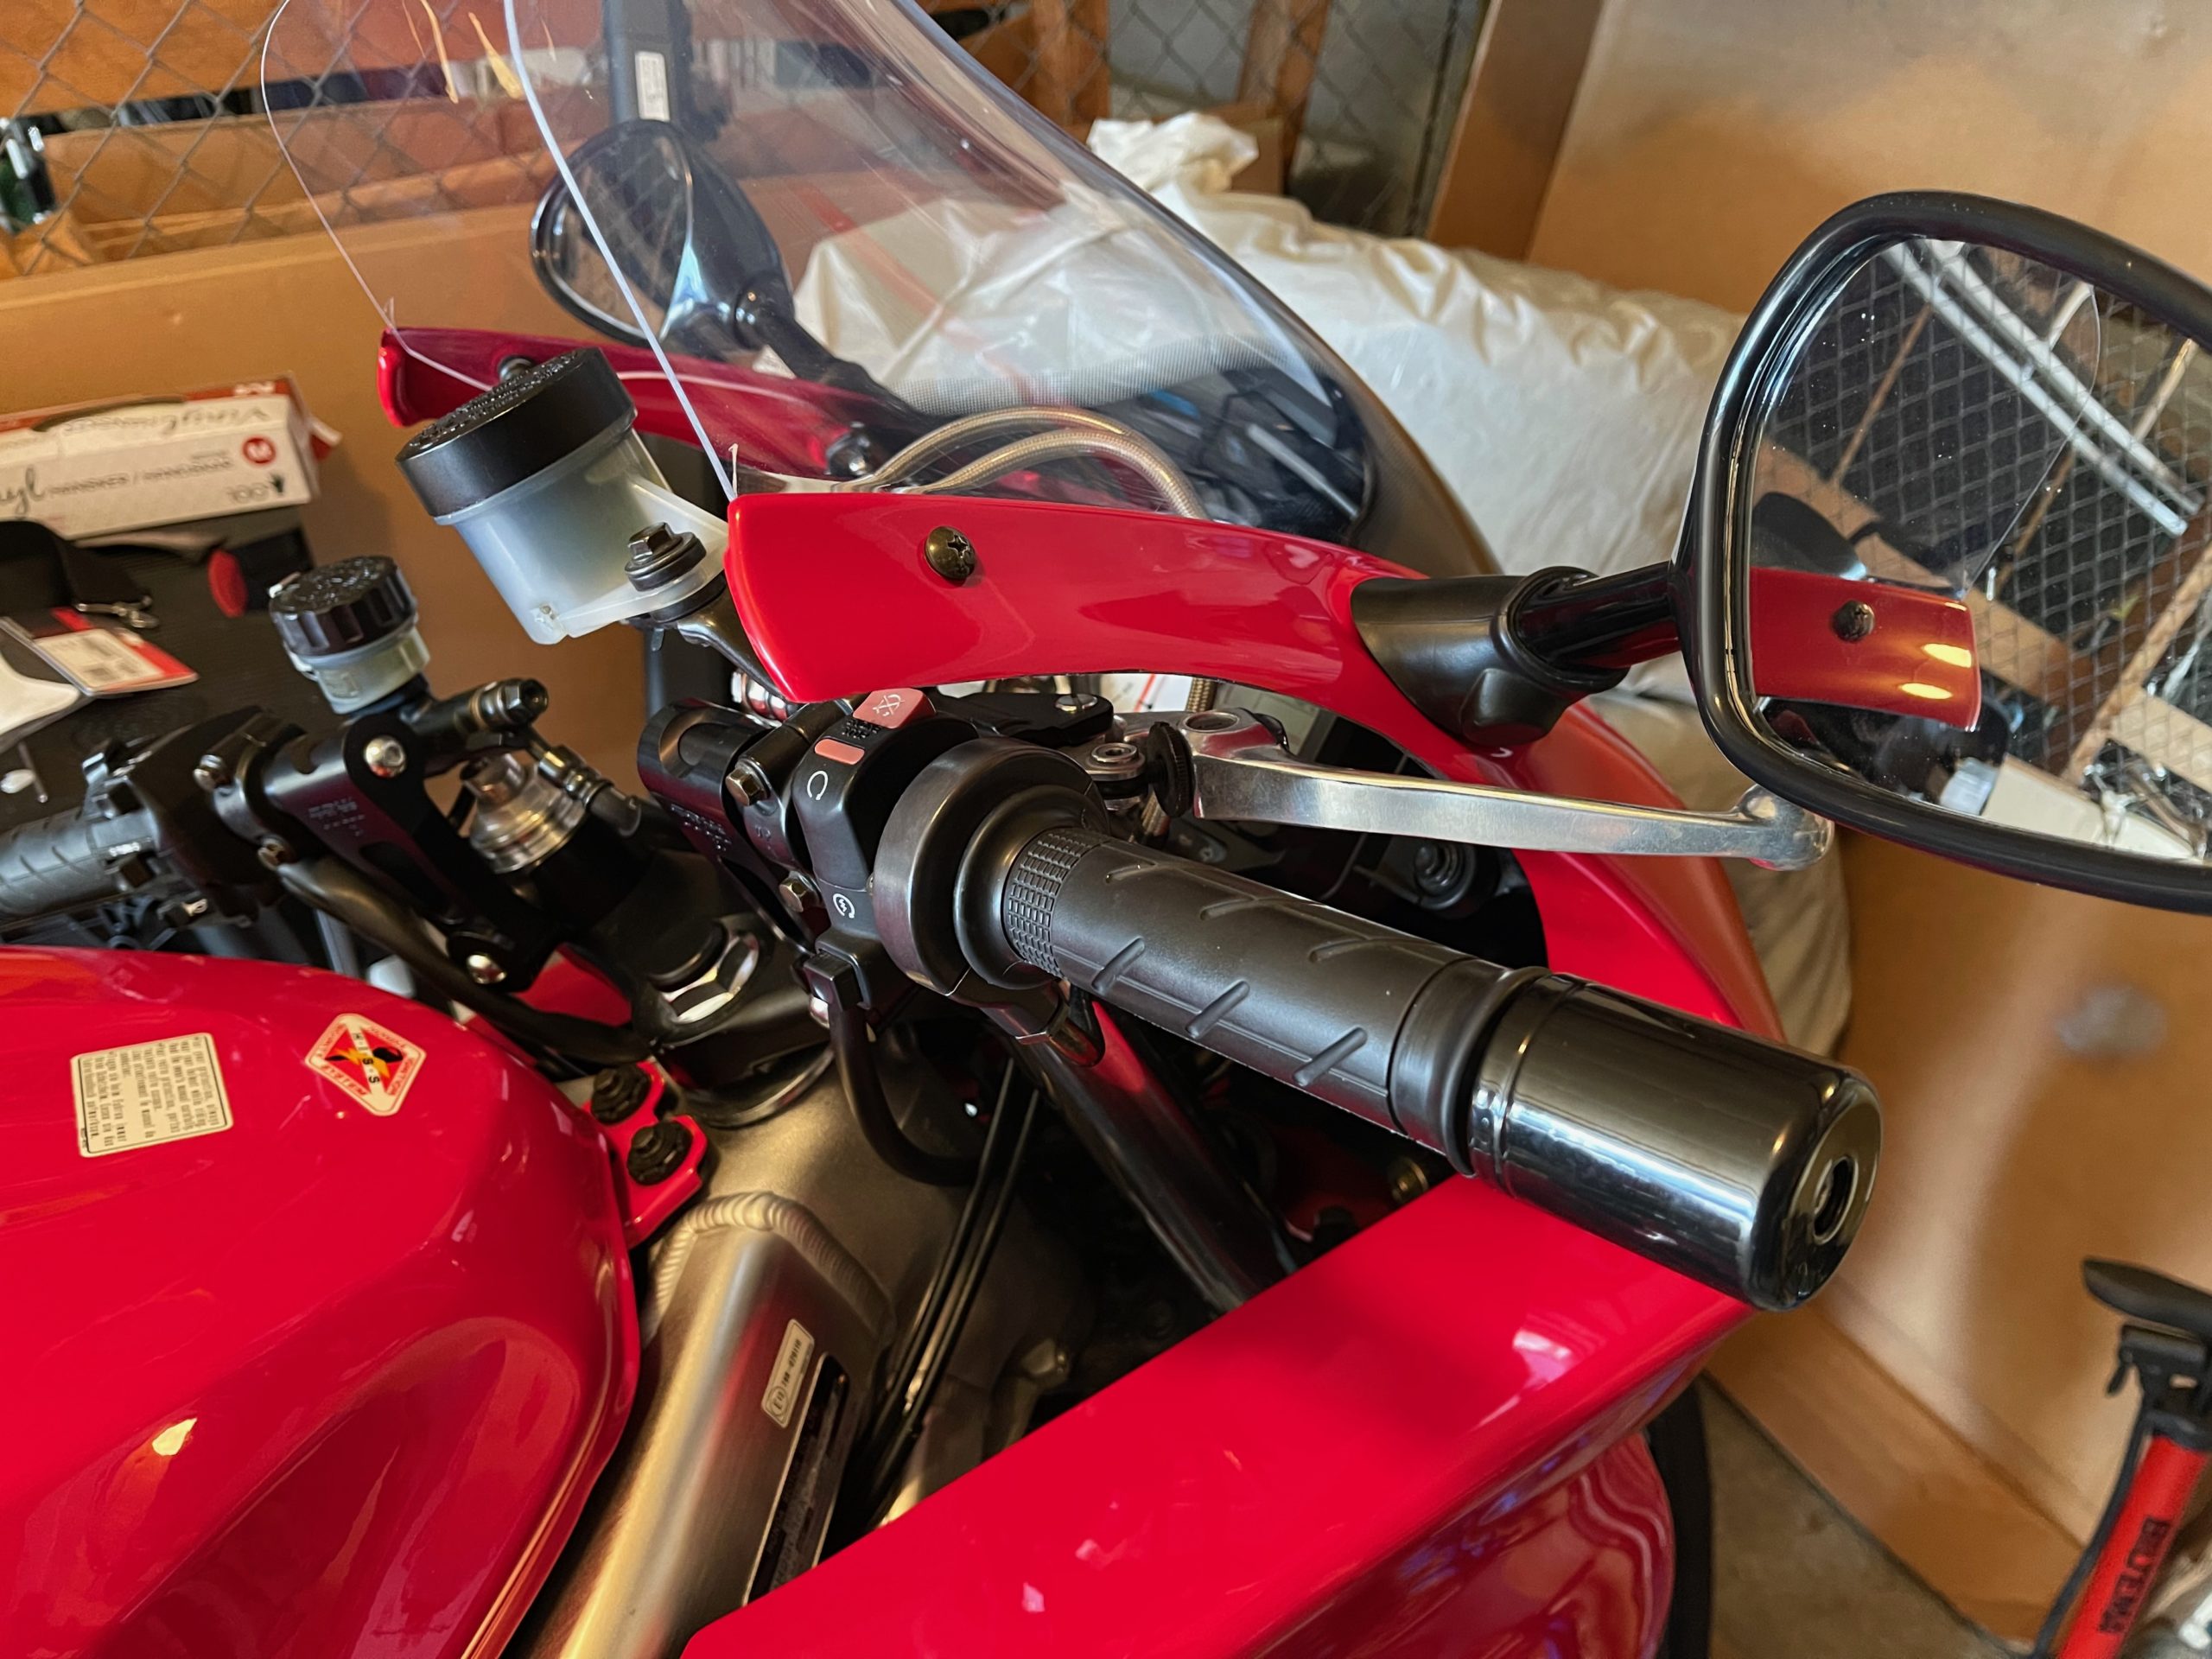
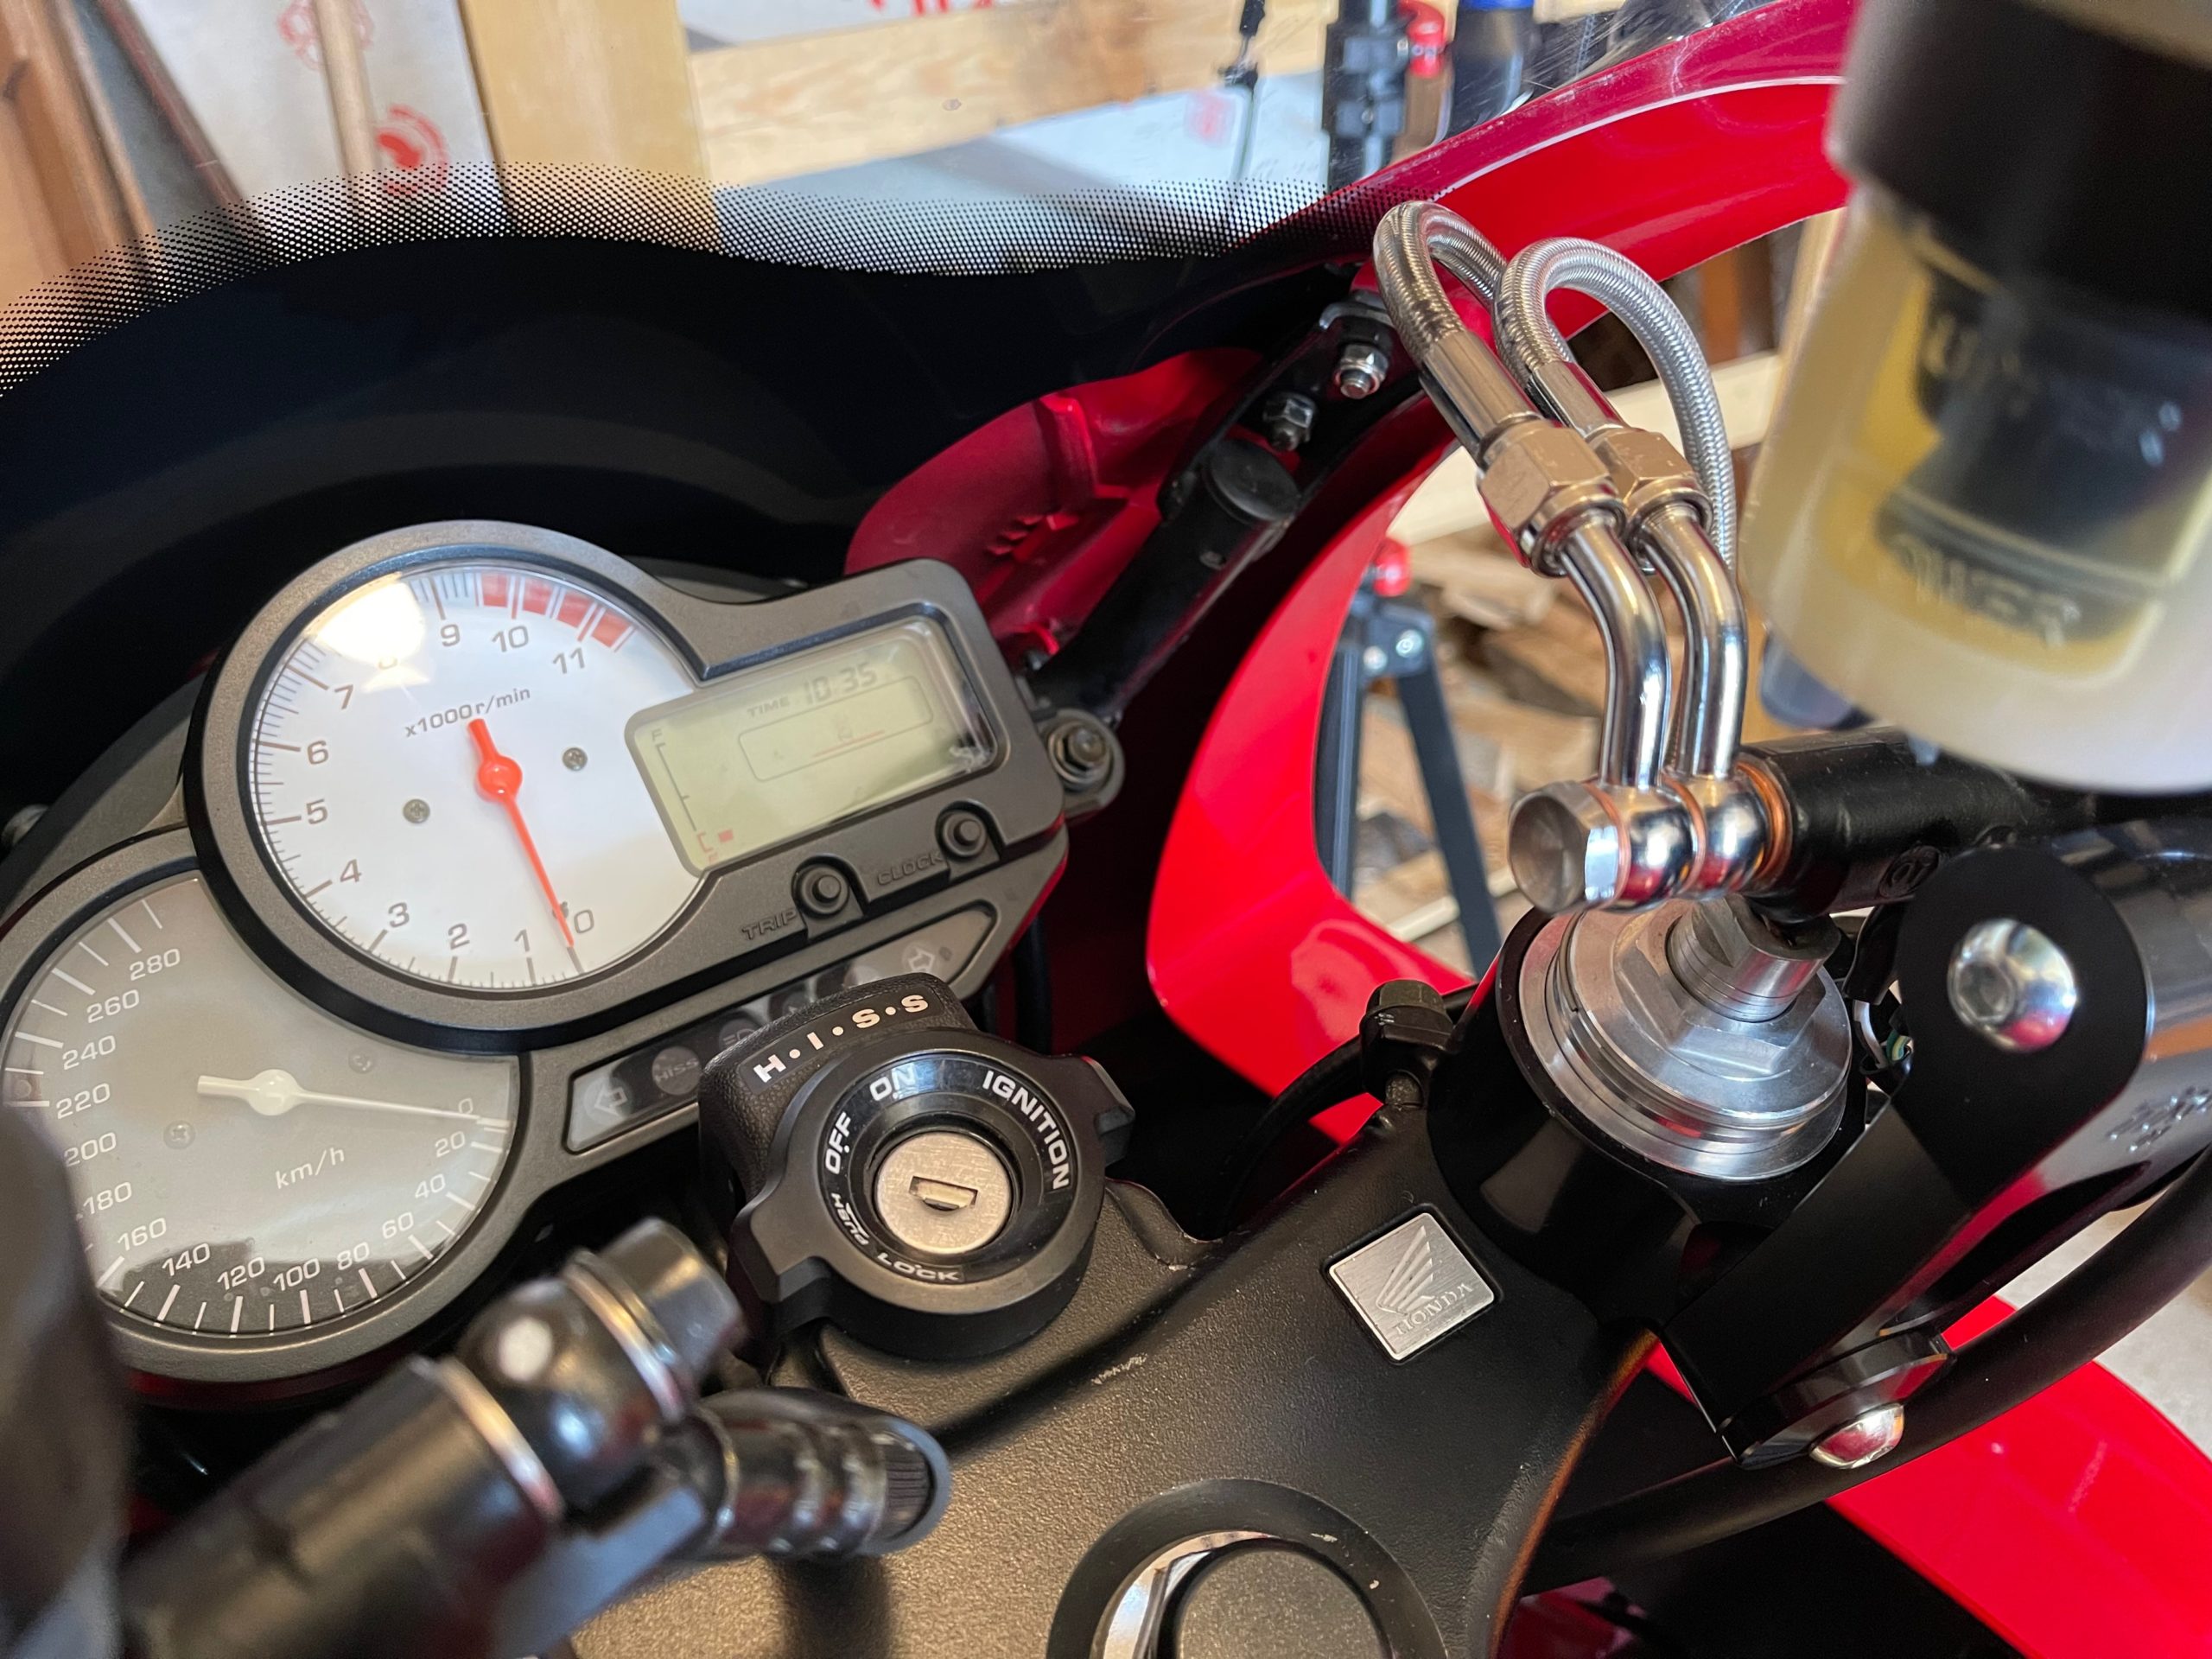
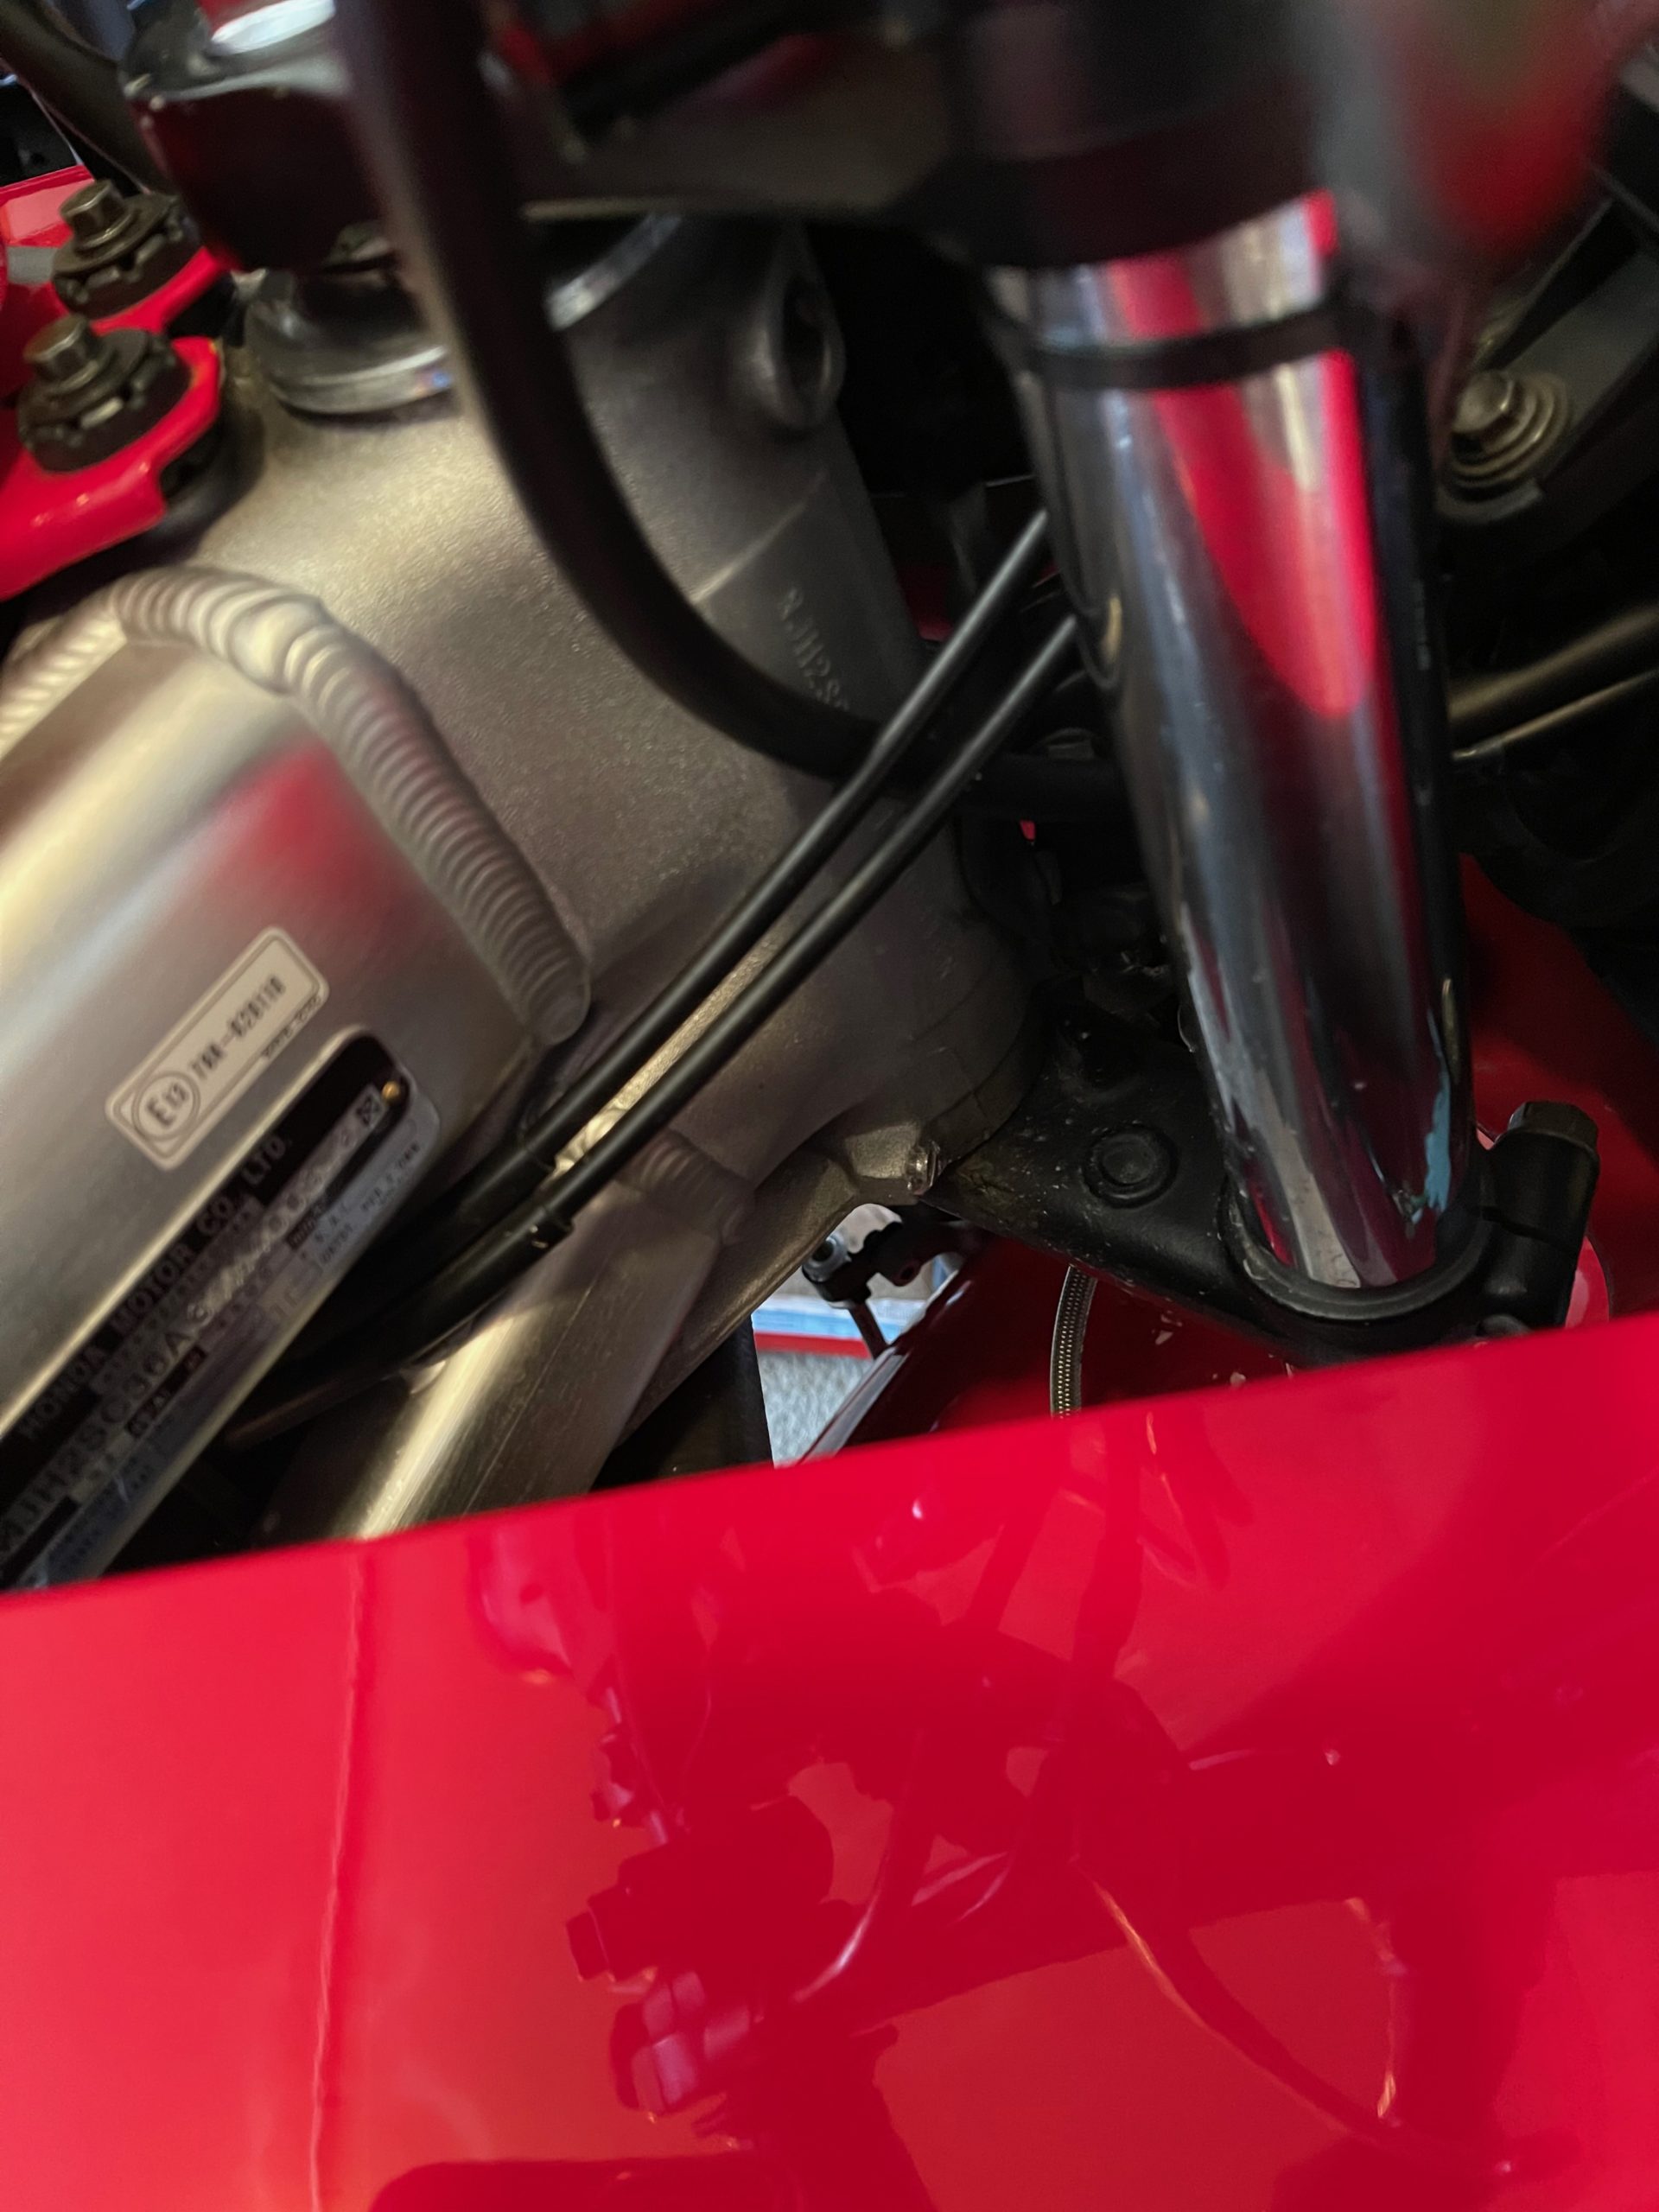
Day 5 Update – the bar-ends are pretty amazing. I went for a ride today and there was basically no vibration in the clipons. Wow! I was already to fill them with silicone and birdshot, etc., etc. but I am really happy that all I needed was some seriously heavy bar-ends!
More Mods and Tweaks
So, I cannot leave well-enough alone. I did go with super bike bars, and I am really glad I did. They are way wider, and are a lot more open and comfortable. I rode to Simrisham and back (3-ish hours) and there was no upper body fatigue. My knees, on the other hand …
Anyway, this is what they look like. And yes, I removed the stock clutch line and replaced it with a stainless unit so that I would have a bit of length to work with. I am glad I did as the clutch fluid looked like it needed a flush … And the Moto-CNC bar converters are really slick!
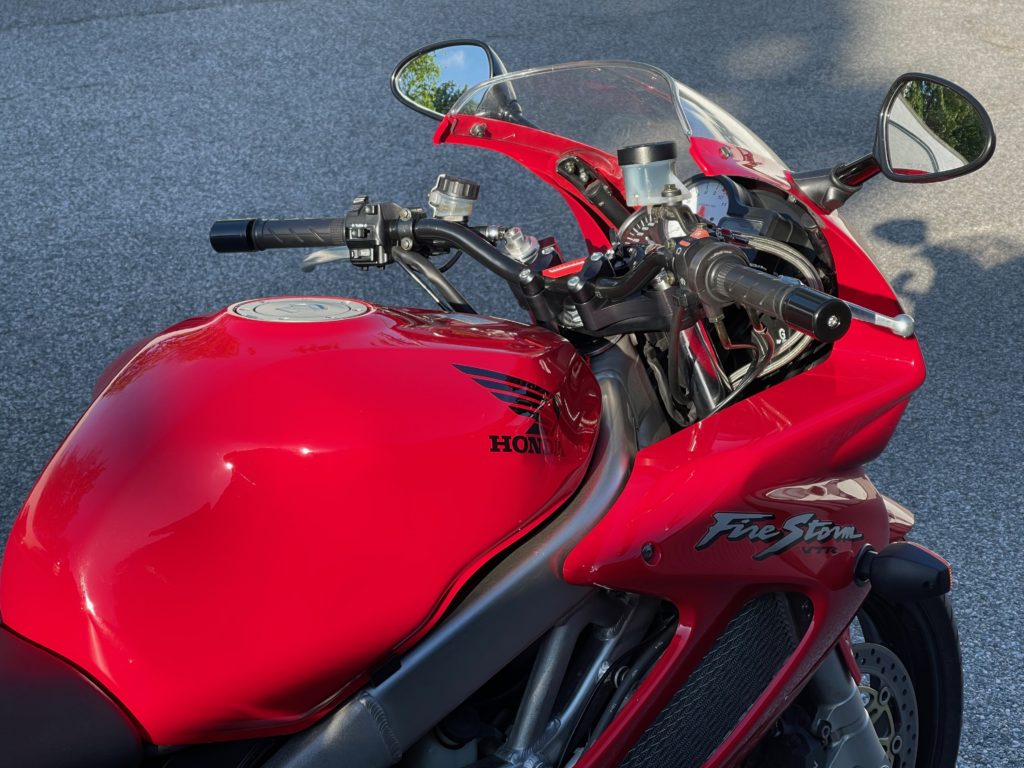
There is only one irritation (aside from the cramped knees), and that is that at full left turn lock, the edge of the fairing hits the kill switch … Oh, and the horn line is not long enough so it is currently disconnected … Next project (along with a USB charger).
